Why use a microscope camera in outdoor observation?

Microscope cameras matter in real-world nature use because many ecological details are too small to see clearly with the naked eye or standard cameras.
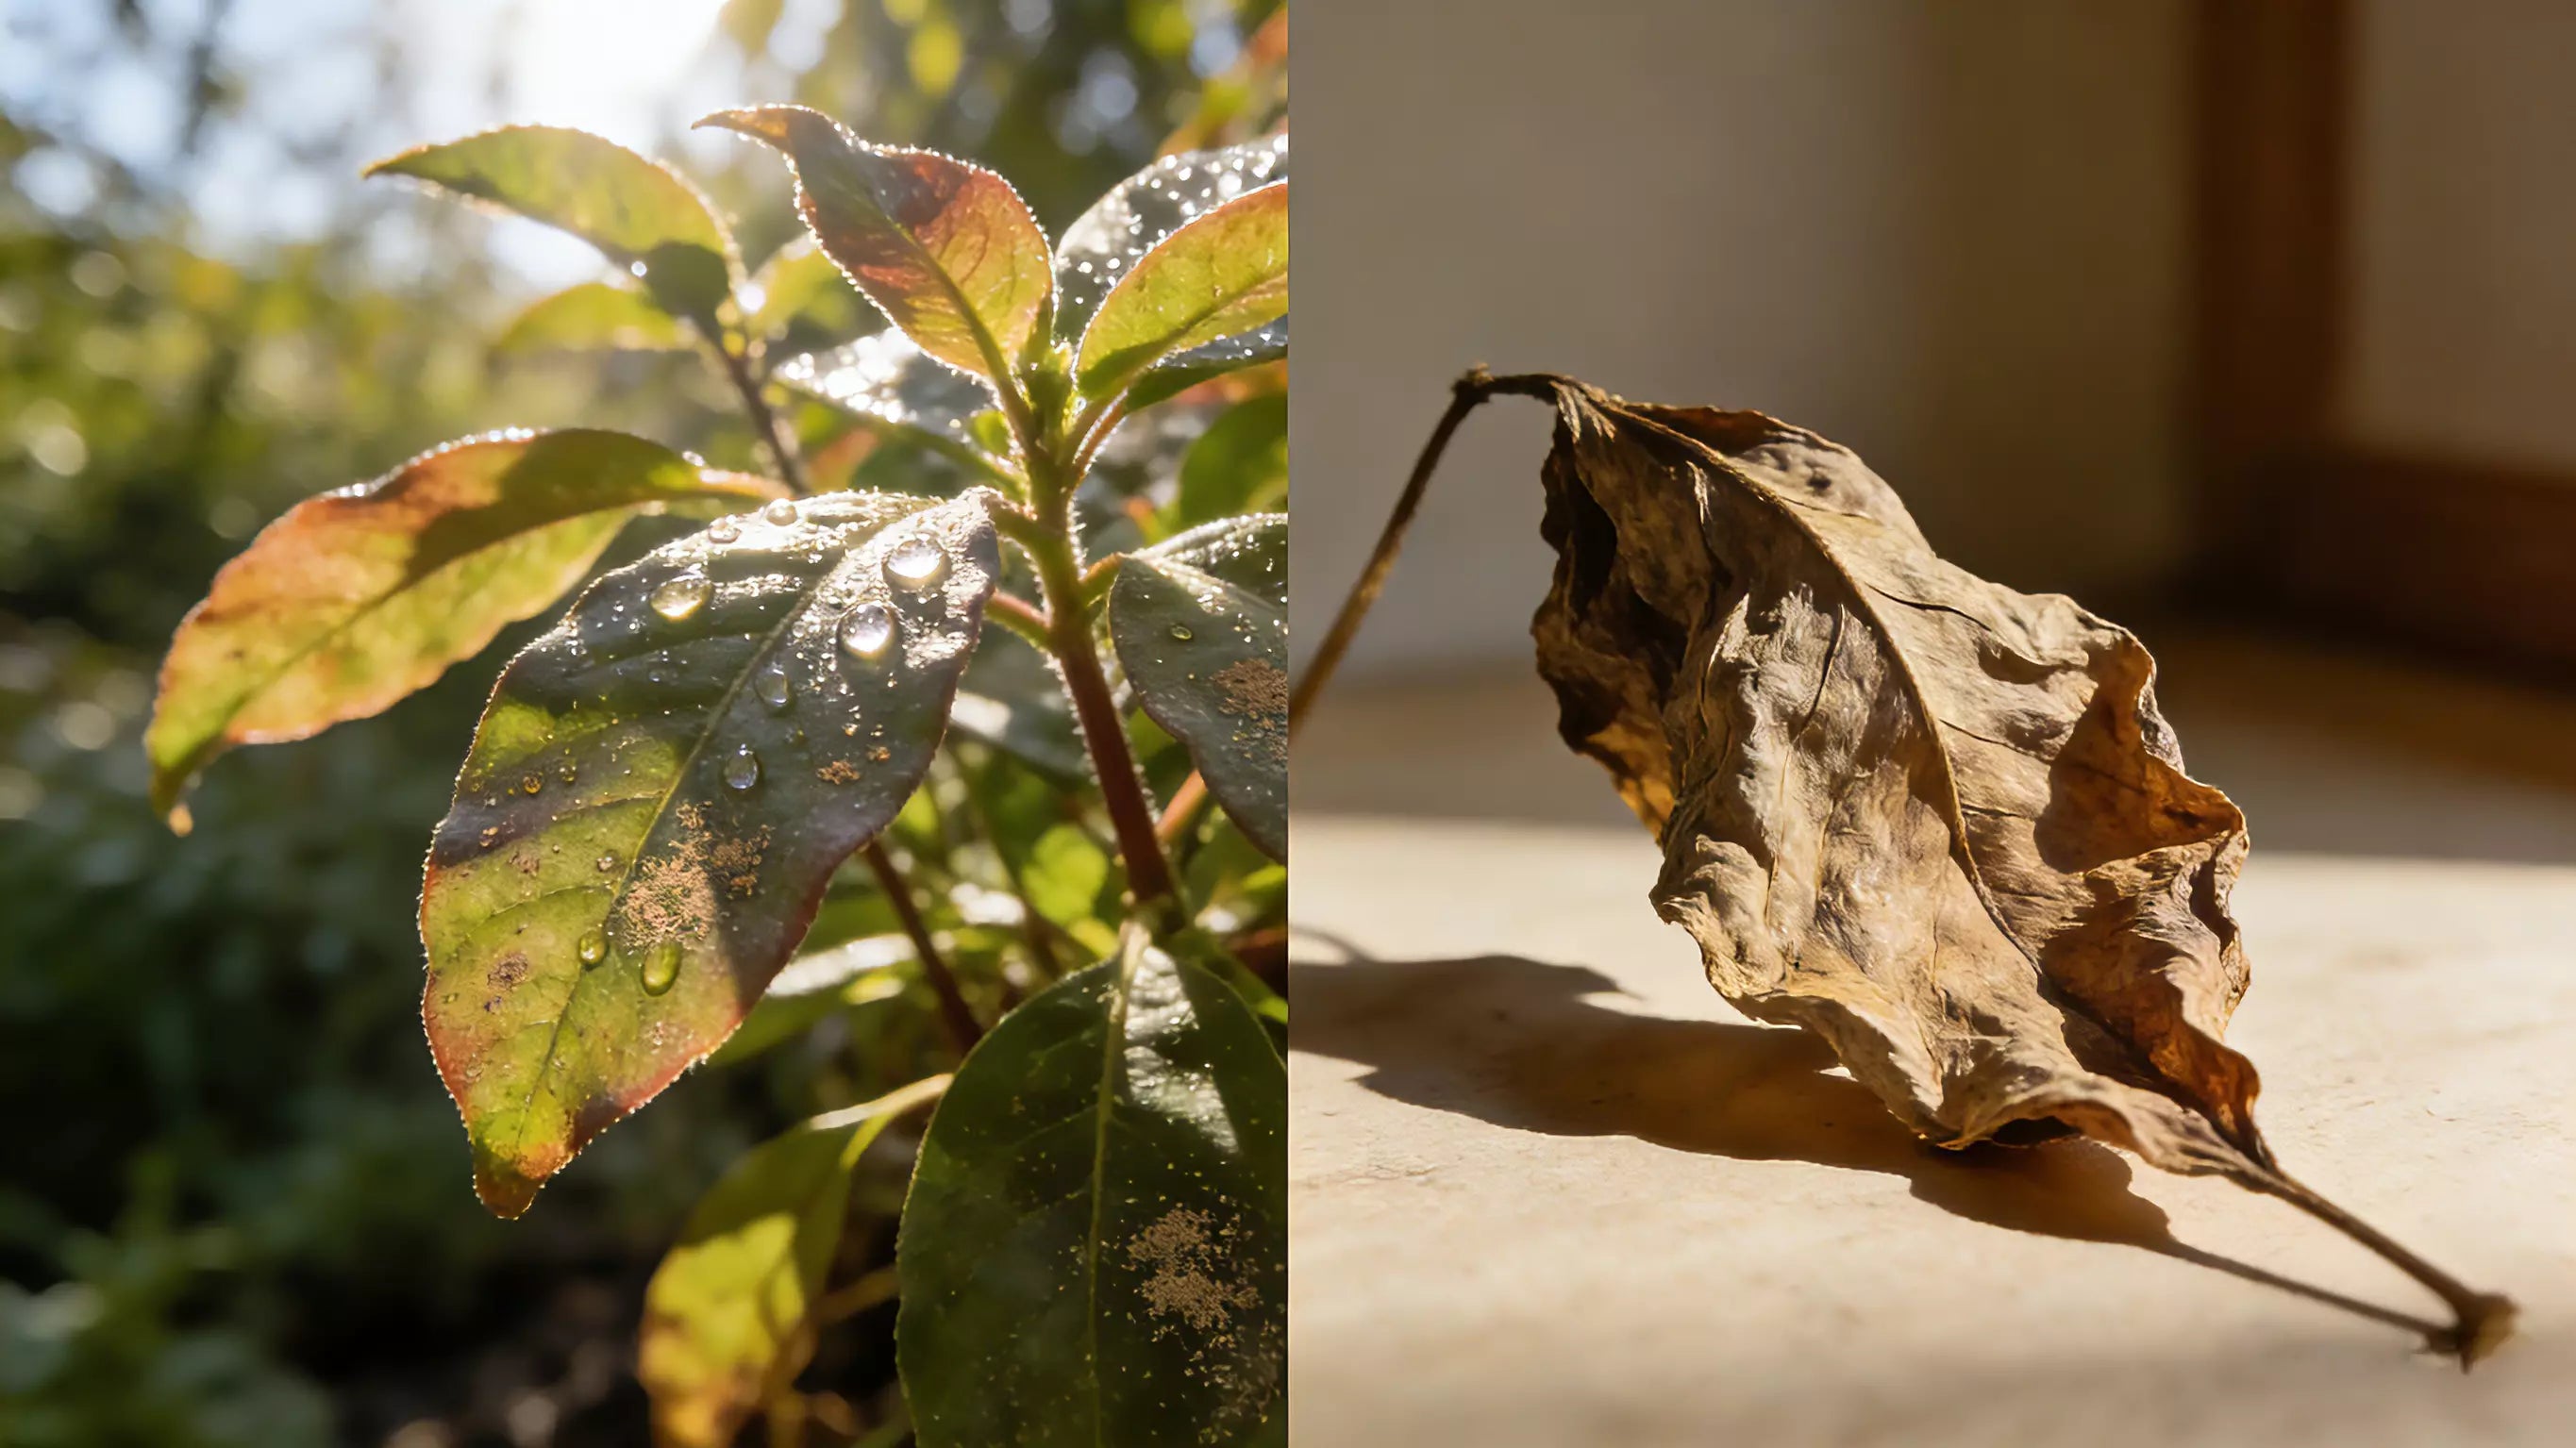
In outdoor environments, insects rarely remain still, and leaves are often layered, backlit, or affected by wind. A microscope camera shifts the focus from scenery to structure—how an ant’s mandibles move, how stomata appear on a leaf surface, or how feeding patterns reveal insect behavior.
For example:
-
On a forest trail, you can compare vein density between sun-exposed and shaded leaves.
-
In a garden, early signs of aphids or mites can be identified before damage spreads.
-
Near streams or ponds, surface algae and insect larvae can be examined directly on rocks or plants.
This approach supports field learning and documentation without altering the environment.
How do microscope cameras work outdoors, step by step?

Step 1: Stabilize the subject
Outdoor surfaces are rarely flat. Place the camera gently against a leaf, bark, or rock, or brace your hands against a stable object such as a tree trunk. Stability has more impact on clarity than resolution at higher magnifications.
Step 2: Control distance instead of zoom
Most microscope cameras rely on a fixed close-focus range. Move the camera slowly closer or farther until details come into focus rather than increasing digital zoom.
Beginners often struggle with this adjustment, which is explained in more detail in guides on using microscope cameras for outdoor observation.
Step 3: Use natural light intentionally
Direct sunlight can wash out surface detail. Shade the subject with your body or observe during early morning or late afternoon. Overcast conditions often provide the most even lighting for leaf and insect textures.
Step 4: Observe patterns, not single frames
Instead of taking one image, scan gradually:
-
Follow the branching of leaf veins
-
Trace segmentation along an insect body
-
Compare textures across similar surfaces nearby
This method reflects how handheld microscopes are used in field biology.
Step 5: Capture for reference
Outdoor microscope images are most useful as records for comparison and learning rather than as polished photographs.
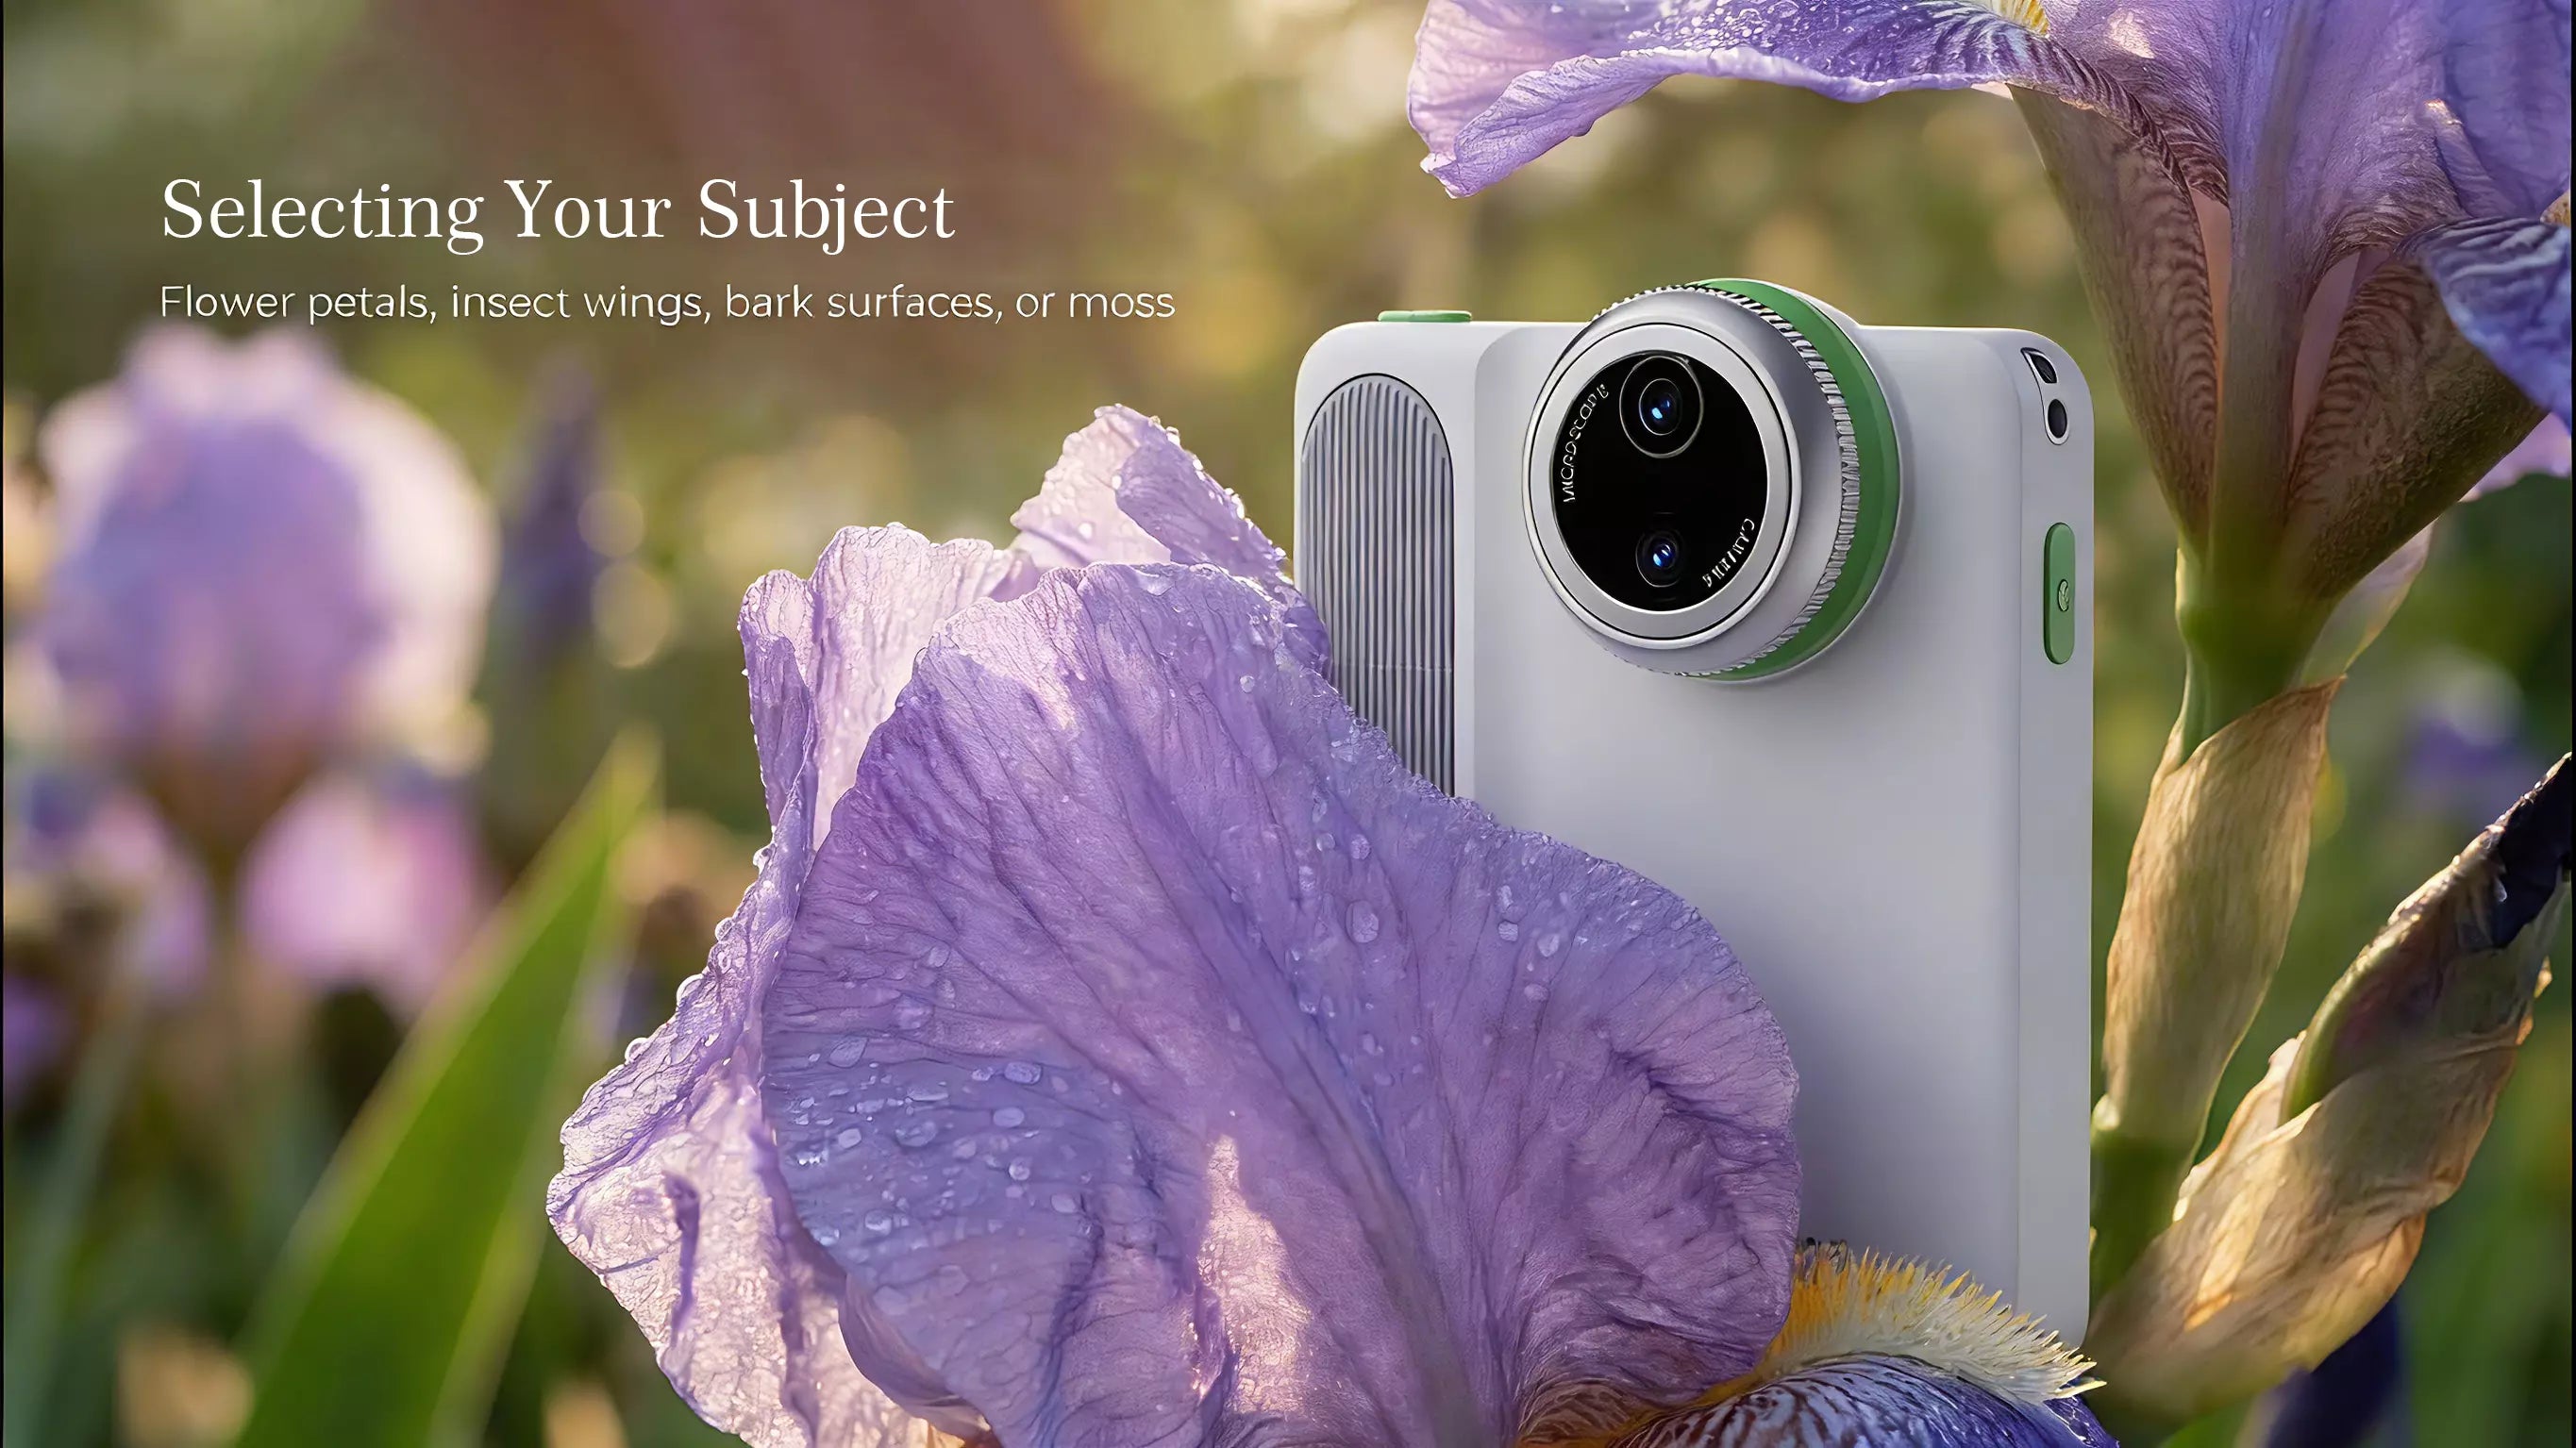
What can you realistically observe in nature?

Insects
-
Wing scales on butterflies and moths
-
Compound eye patterns in flies
-
Pollen trapped in bee leg hairs
-
Mandible wear in ants or beetles
These details are commonly examined when observing insects in nature with a microscope camera, especially during calm morning conditions.
Leaves and plants
-
Vein branching and density
-
Surface wax or fine hairs (trichomes)
-
Early fungal growth or mildew
-
Insect egg deposits and feeding marks
Natural surfaces
-
Lichen structures on rocks
-
Bark fiber orientation
-
Soil grain variation near plant roots
Such features are often invisible in standard outdoor photography.
What mistakes do beginners often make?
Treating it like a normal camera
Microscope cameras are designed for near-contact observation. Shooting from a distance usually leads to blur.
Overusing digital magnification
High magnification amplifies movement. Beginners often zoom in too quickly instead of stabilizing and observing at lower levels first.
Ignoring wind and motion
Even slight leaf movement can disrupt focus. Choosing calmer conditions or shielding the subject makes a significant difference.
Expecting dramatic visuals
Outdoor microscopy emphasizes texture and structure rather than bold colors or cinematic results.
Skipping context
Capturing details without noting location, plant type, or conditions reduces the usefulness of the observation later.
Who are microscope cameras best suited for?
Microscope cameras in outdoor settings are best suited for people interested in slow, detail-oriented observation:
-
Nature enthusiasts exploring plant and insect structure
-
Outdoor photographers expanding beyond traditional macro work
-
Gardeners monitoring plant health and pests
-
Educators and parents supporting hands-on nature learning
-
Hikers and travelers documenting ecosystems without collecting samples
They are less appropriate for wildlife action photography or distant subjects.
Is a microscope camera a replacement for macro photography?
No. A microscope camera complements macro photography rather than replacing it. Macro photography shows how a subject fits into its environment, while microscopy reveals how that subject is built.
For more real-world examples and field-based applications, explore our collection of outdoor microscope camera use cases.