
Why does outdoor microscopy matter for nature enthusiasts?

Capturing high-magnification images in a natural setting provides a unique perspective on insect anatomy that is often lost in a lab environment. When an insect is removed from its habitat, it often loses the vibrant coloring or behavioral postures that define its species. Observing the iridescent scales of a moth or the complex serrations on a cricket's leg in situ allows for more authentic biological documentation.
Utilizing microscope cameras in the wild bridges the gap between traditional photography and scientific observation. For enthusiasts, this means the ability to identify microscopic parasites on a dragonfly or examine the pollen-collecting hairs on a bee's abdomen without harming the specimen. This non-invasive approach makes it easier to study biodiversity while ensuring the local ecosystem remains undisturbed.
How do you capture high-quality insect images step by step?

Photographing live subjects in an uncontrolled environment requires a methodical approach to overcome the dual challenges of extreme magnification and unpredictable movement.
1. Select the Right Subject
Not every insect is a candidate for outdoor microscopy. High-speed fliers like dragonflies are difficult to track. Instead, focus on "slow" subjects:
-
Larvae and Caterpillars: Their slow crawling pace makes them ideal for focusing.
-
Feeding Insects: Aphids or shield bugs often remain stationary while piercing plant tissue.
-
Morning Observations: Many insects are ectothermic (cold-blooded) and remain sluggish in the early morning dew, offering a window for high-magnification shots.
2. Stabilize the Device
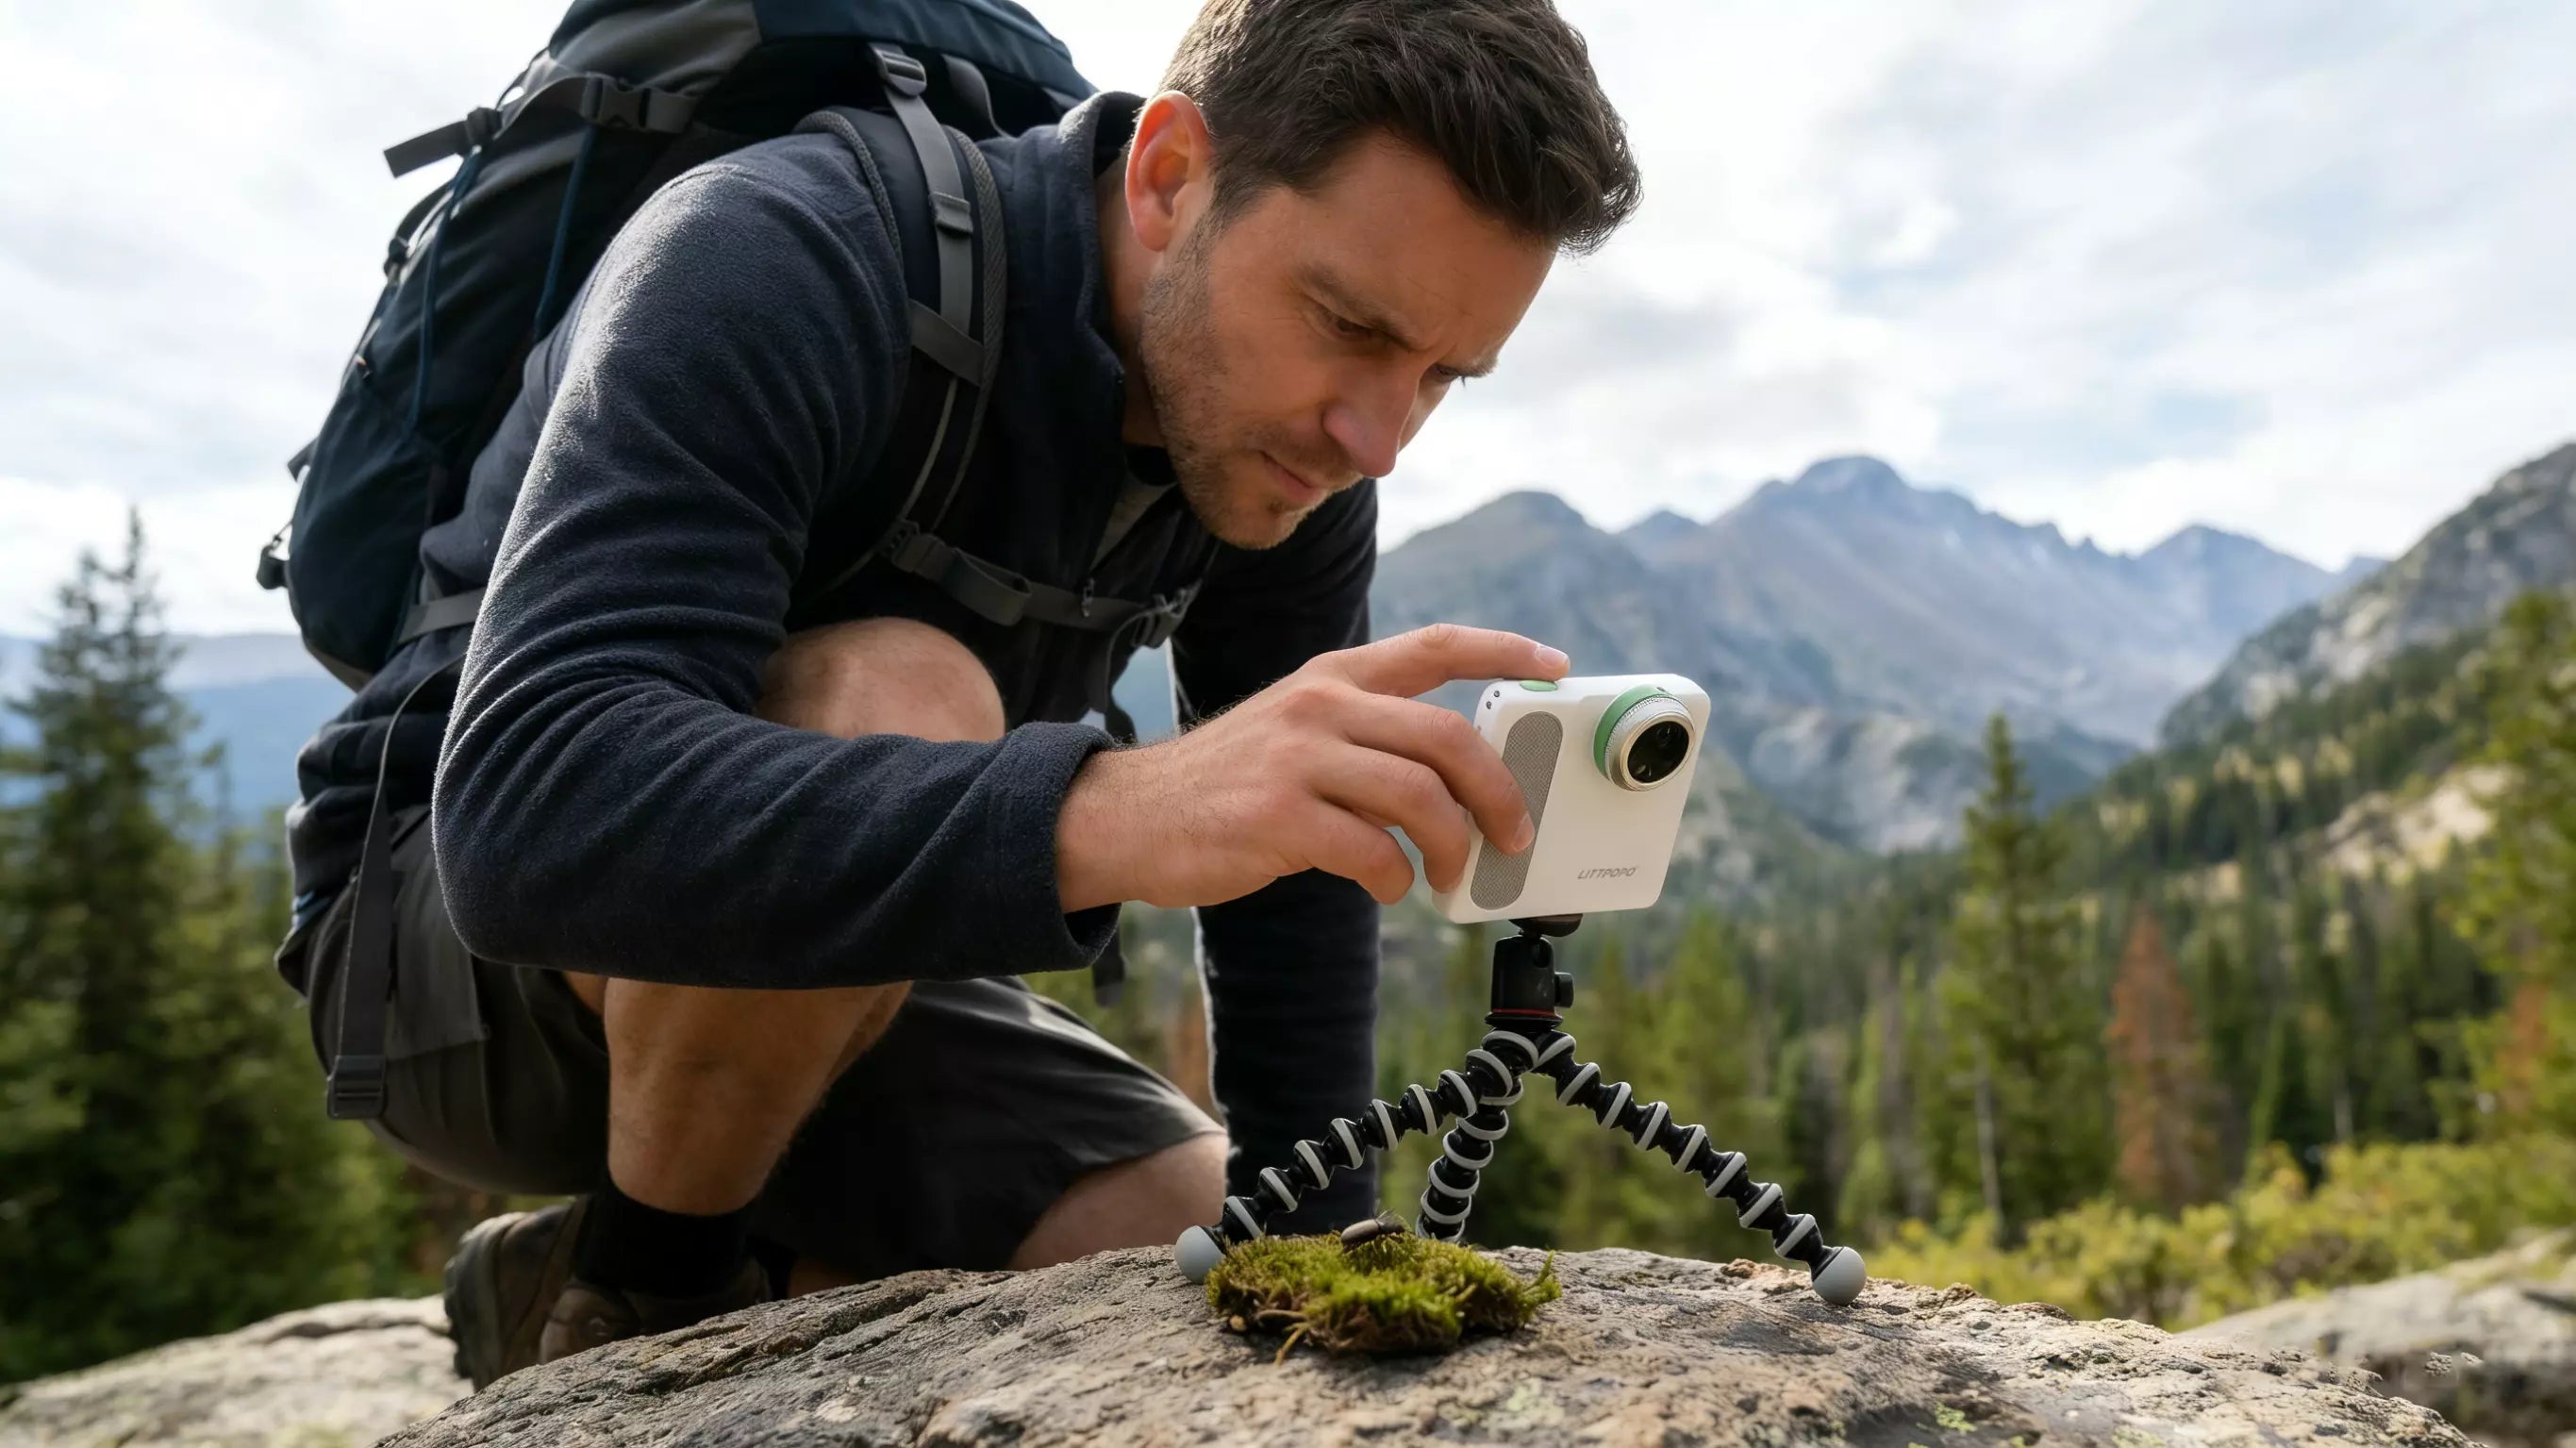
At 50x magnification or higher, even the vibration of a light breeze or your own heartbeat can cause significant motion blur. Avoid hand-holding the camera. Instead, use a compact flexible tripod (like a GorillaPod) or rest the camera housing directly against a stable surface like a tree trunk or a flat stone.
3. Manage the Light and Exposure
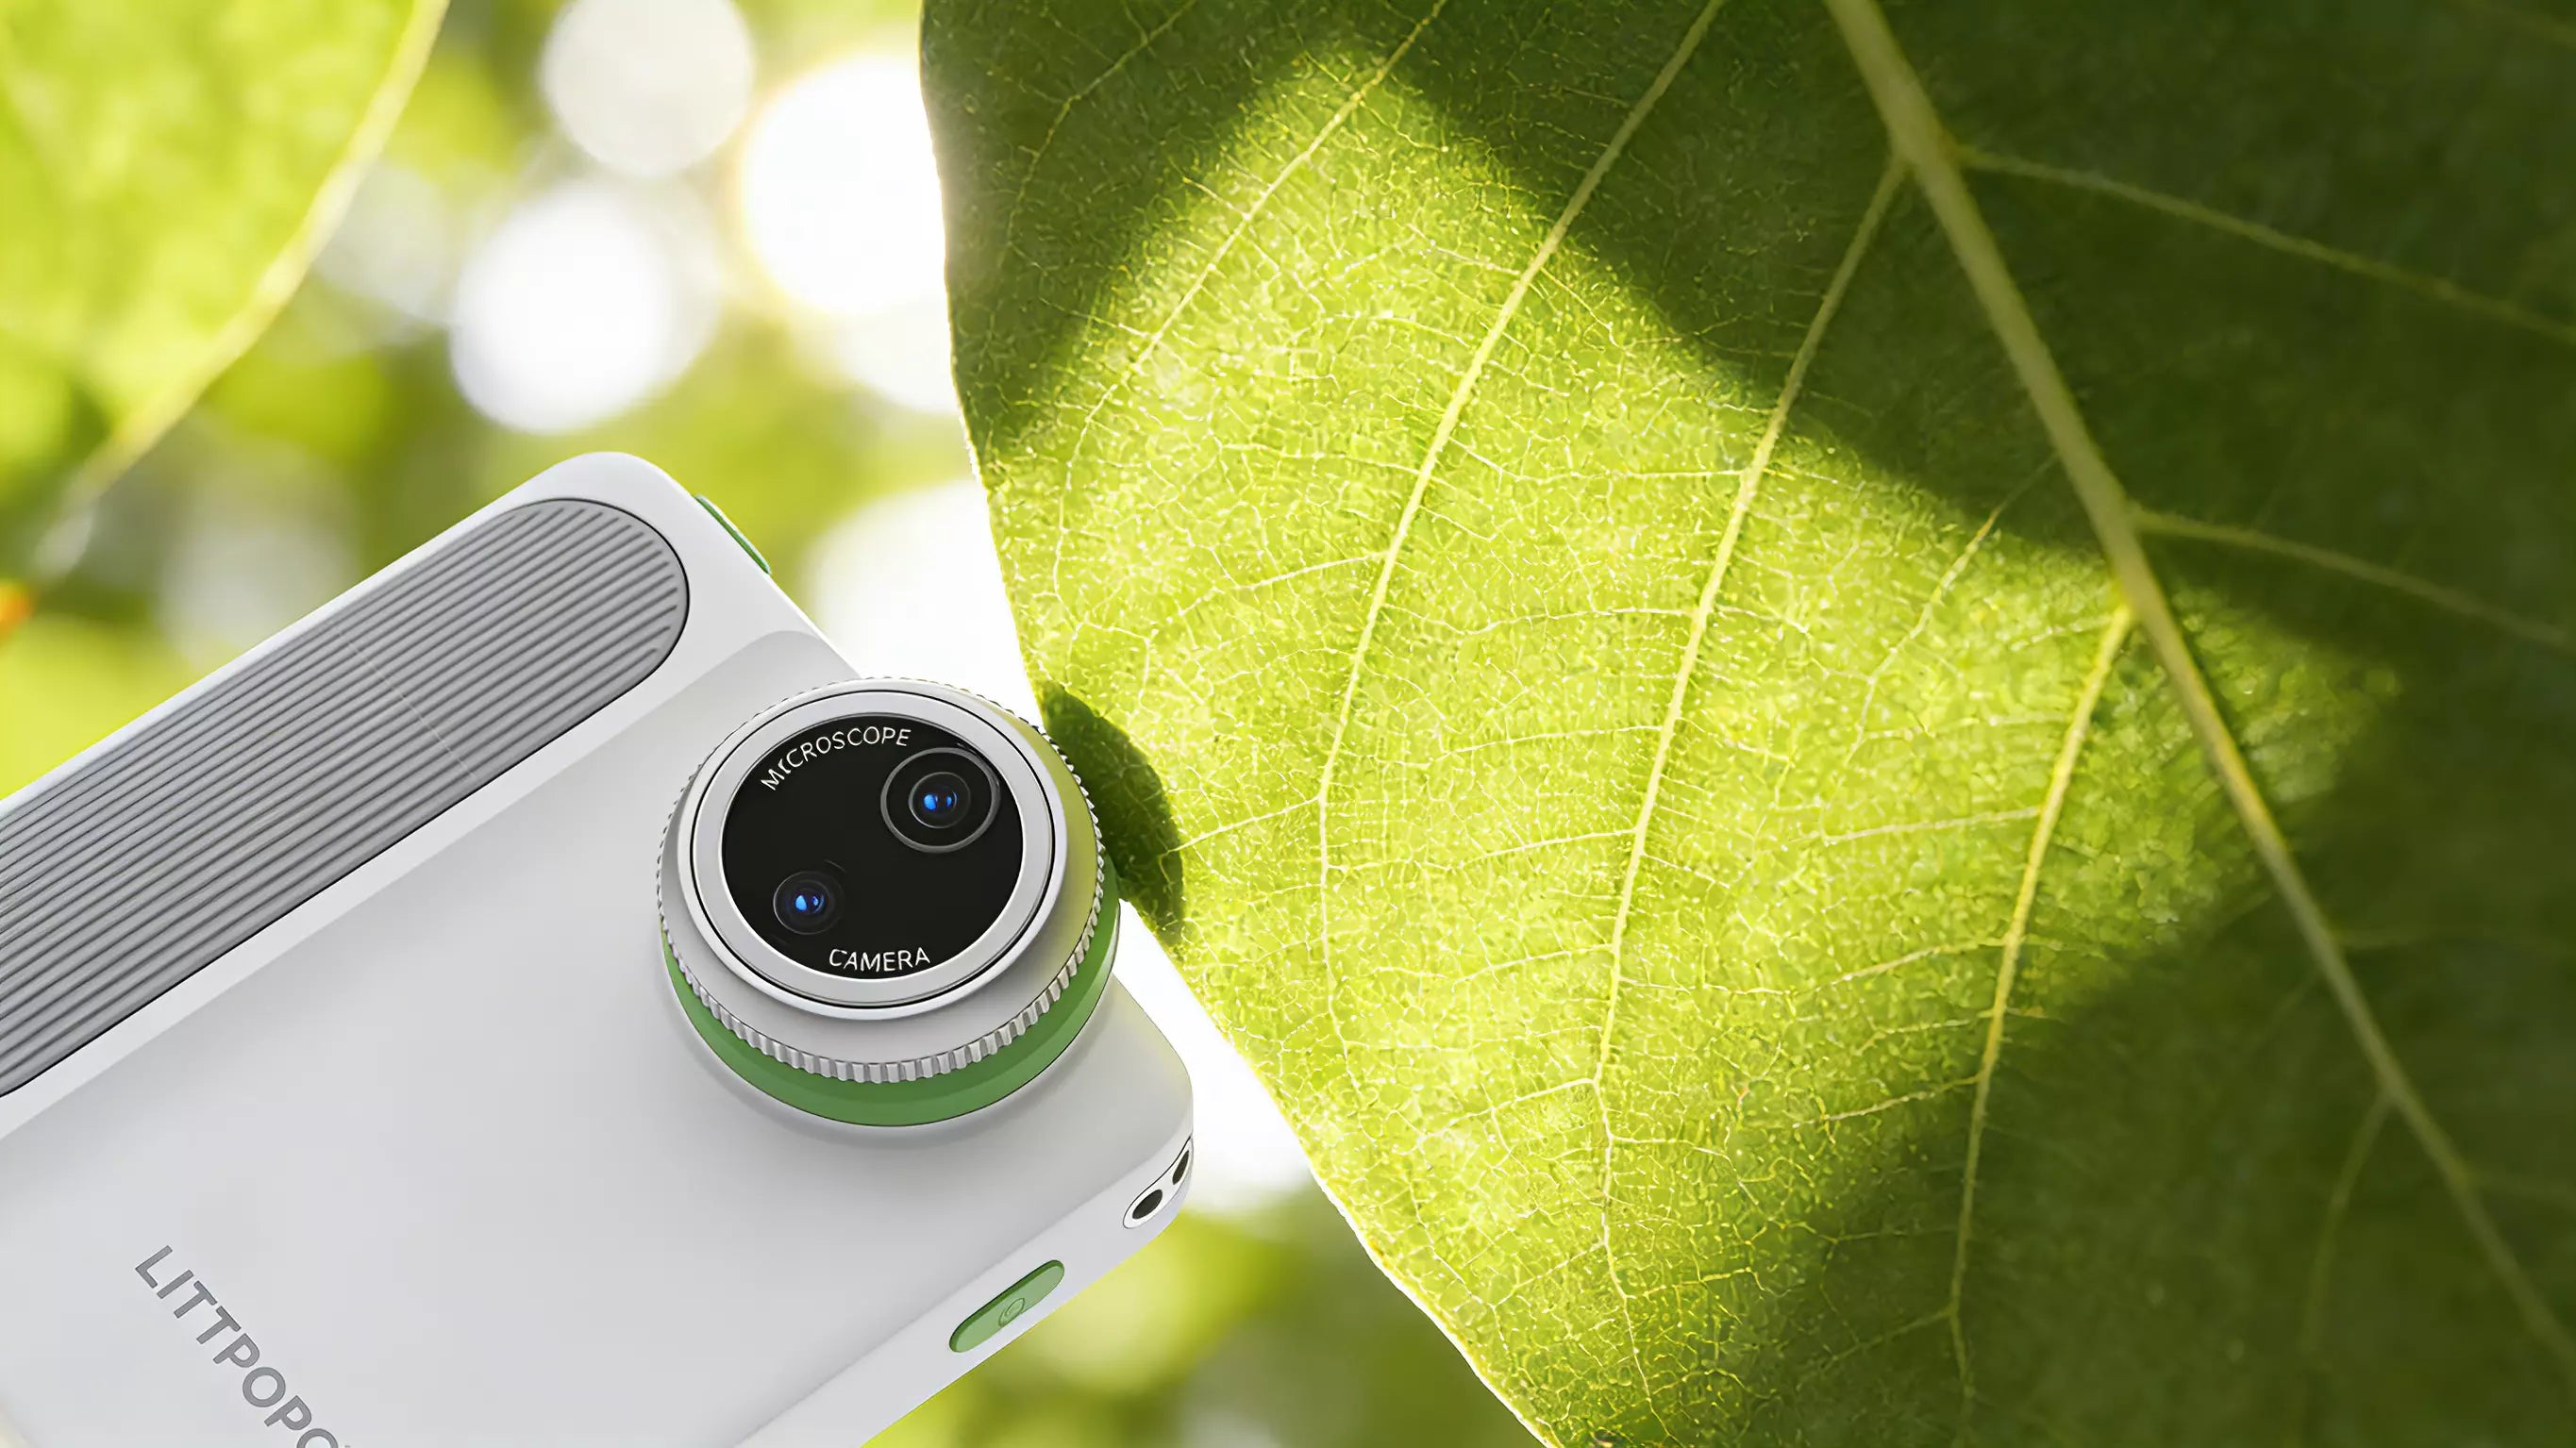
Digital microscope cameras rely heavily on their internal LED ring lights. However, direct LED light can cause "hot spots"—harsh white reflections—on the shiny exoskeletons of beetles. To fix this, you can wrap a small piece of white tissue paper around the camera head to act as a DIY diffuser, creating a softer, more professional glow.
4. Fine-tune Focus via "Rocking"
The depth of field at microscopic levels is paper-thin (often less than a millimeter). Rather than turning the focus dial, which can shake the camera, set the focus to a specific point and gently "rock" your body or the camera stand toward the insect until the eyes come into sharp relief.
What are the common mistakes beginners make?

The most frequent error is attempting to use excessive magnification. While a portable camera may advertise 1000x zoom, environmental factors like wind and sensor noise make such levels nearly impossible to stabilize outside. Most successful field shots are taken between 20x and 100x magnification.
Another common pitfall is ignoring the impact of ambient temperature. Digital screens and LED rings drain lithium-ion batteries significantly faster in colder outdoor temperatures. Furthermore, moving a camera from a cool, air-conditioned car into a humid forest can cause internal lens fogging.
Thorough preparation is key to a successful outing. Understanding the nuances of microscope camera outdoor exploration can help you avoid technical pitfalls like sensor flare from direct sunlight or "digital noise" caused by trying to shoot in deep forest shade without proper exposure compensation.
What gear is essential for an outdoor microscopy kit?

To transition from casual snapshots to high-quality documentation, your field kit should include more than just the camera itself.
| Item | Purpose |
| Power Bank | Ensures your digital screen doesn't die mid-session. |
| Plamp (Plant Clamp) | Holds a branch or leaf steady to prevent wind shake. |
| White Cardboard | Acts as a portable reflector to bounce natural light onto the subject. |
| Microfiber Cloth | Essential for removing dust and pollen from the lens. |
Who is this photography style best for?

Outdoor microscope photography is best suited for educators, hobbyist entomologists, and hikers who want a lightweight, all-in-one tool for discovery. It serves as an accessible entry point for those interested in the minute details of the natural world without the steep learning curve and high cost of professional DSLR macro lenses and bellows systems.
Whether you are a teacher showing students the hidden structures of a leaf or a gardener identifying a specific pest, the portability of modern digital microscopes has turned the entire outdoors into a potential laboratory.
Would you like me to help you draft a specific equipment list based on a particular budget?