
Why does macro photography matter in real outdoor situations?

Macro photography is the art of capturing the "small world." In a standard landscape shot of a forest, you see the scale of the trees. In macro photography, you focus on the individual veins of a leaf, the dew on a spiderweb, or the compound eyes of a dragonfly.
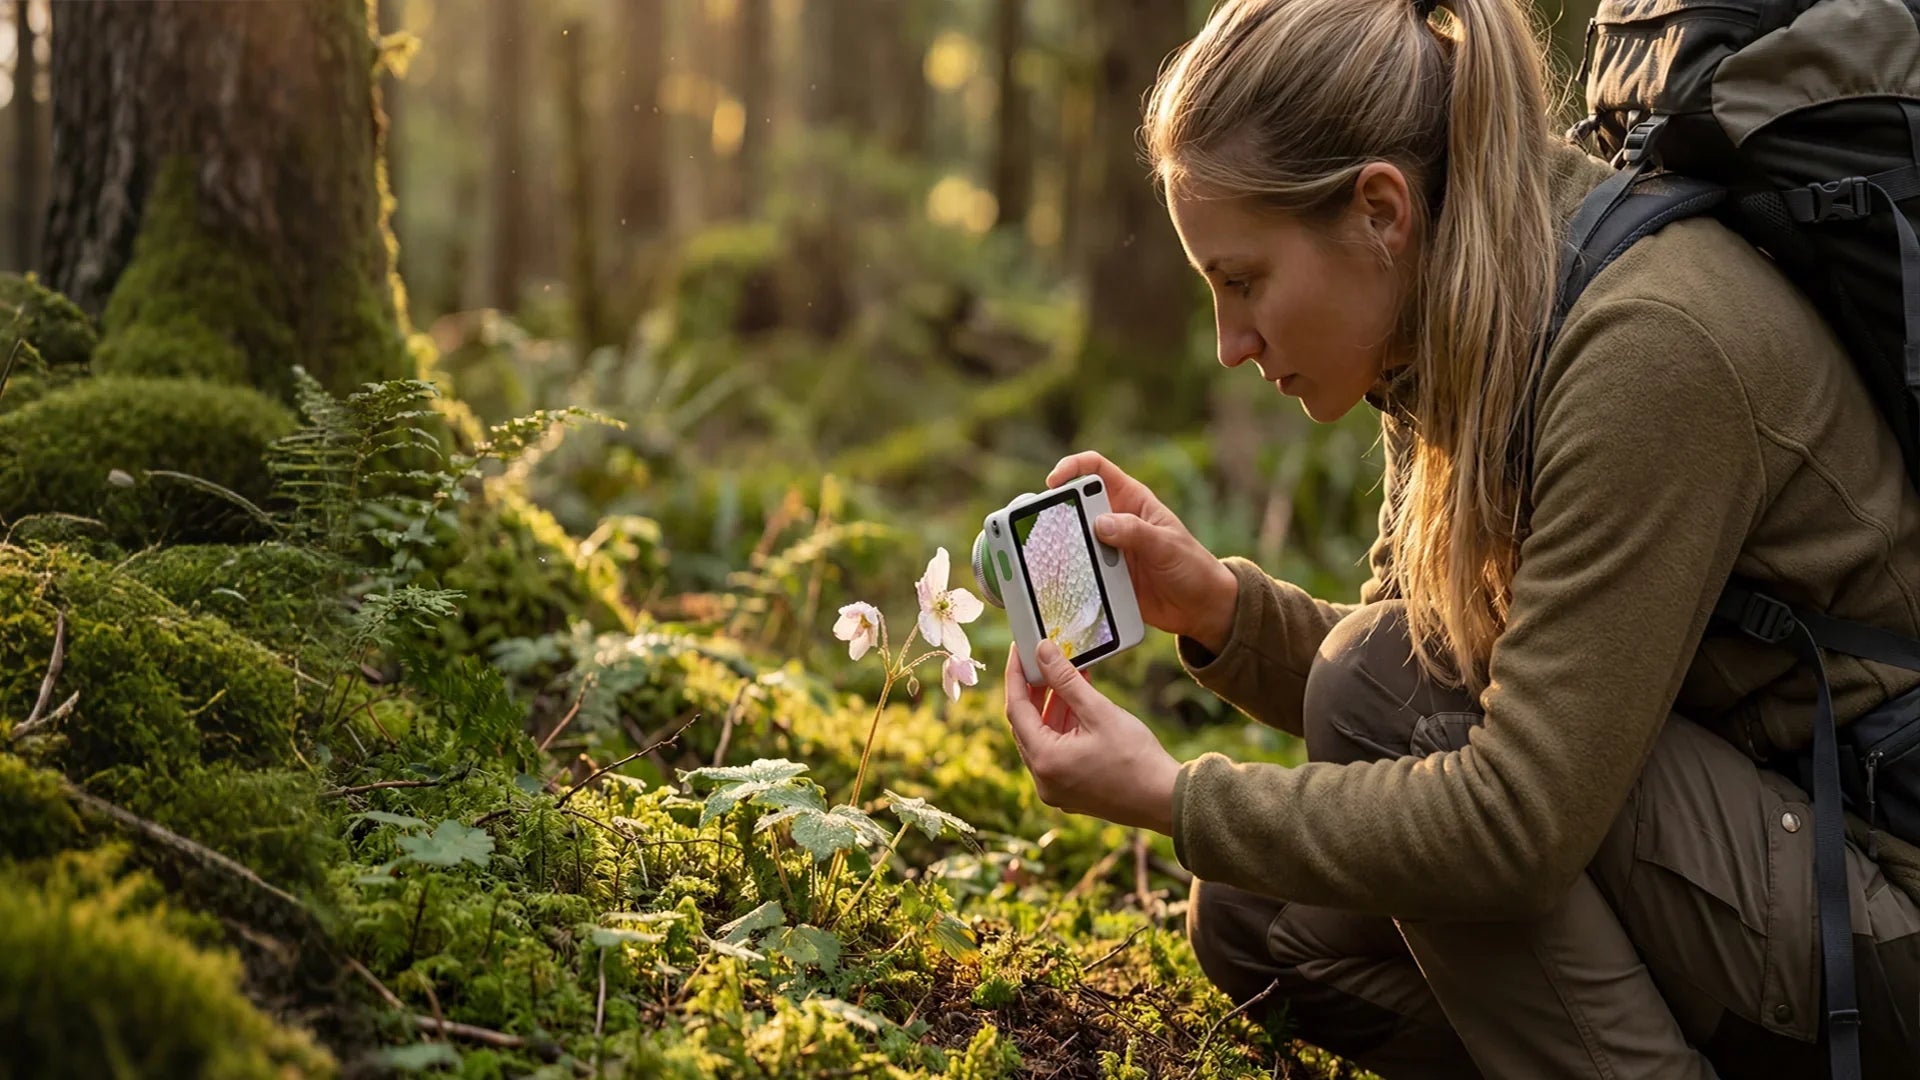
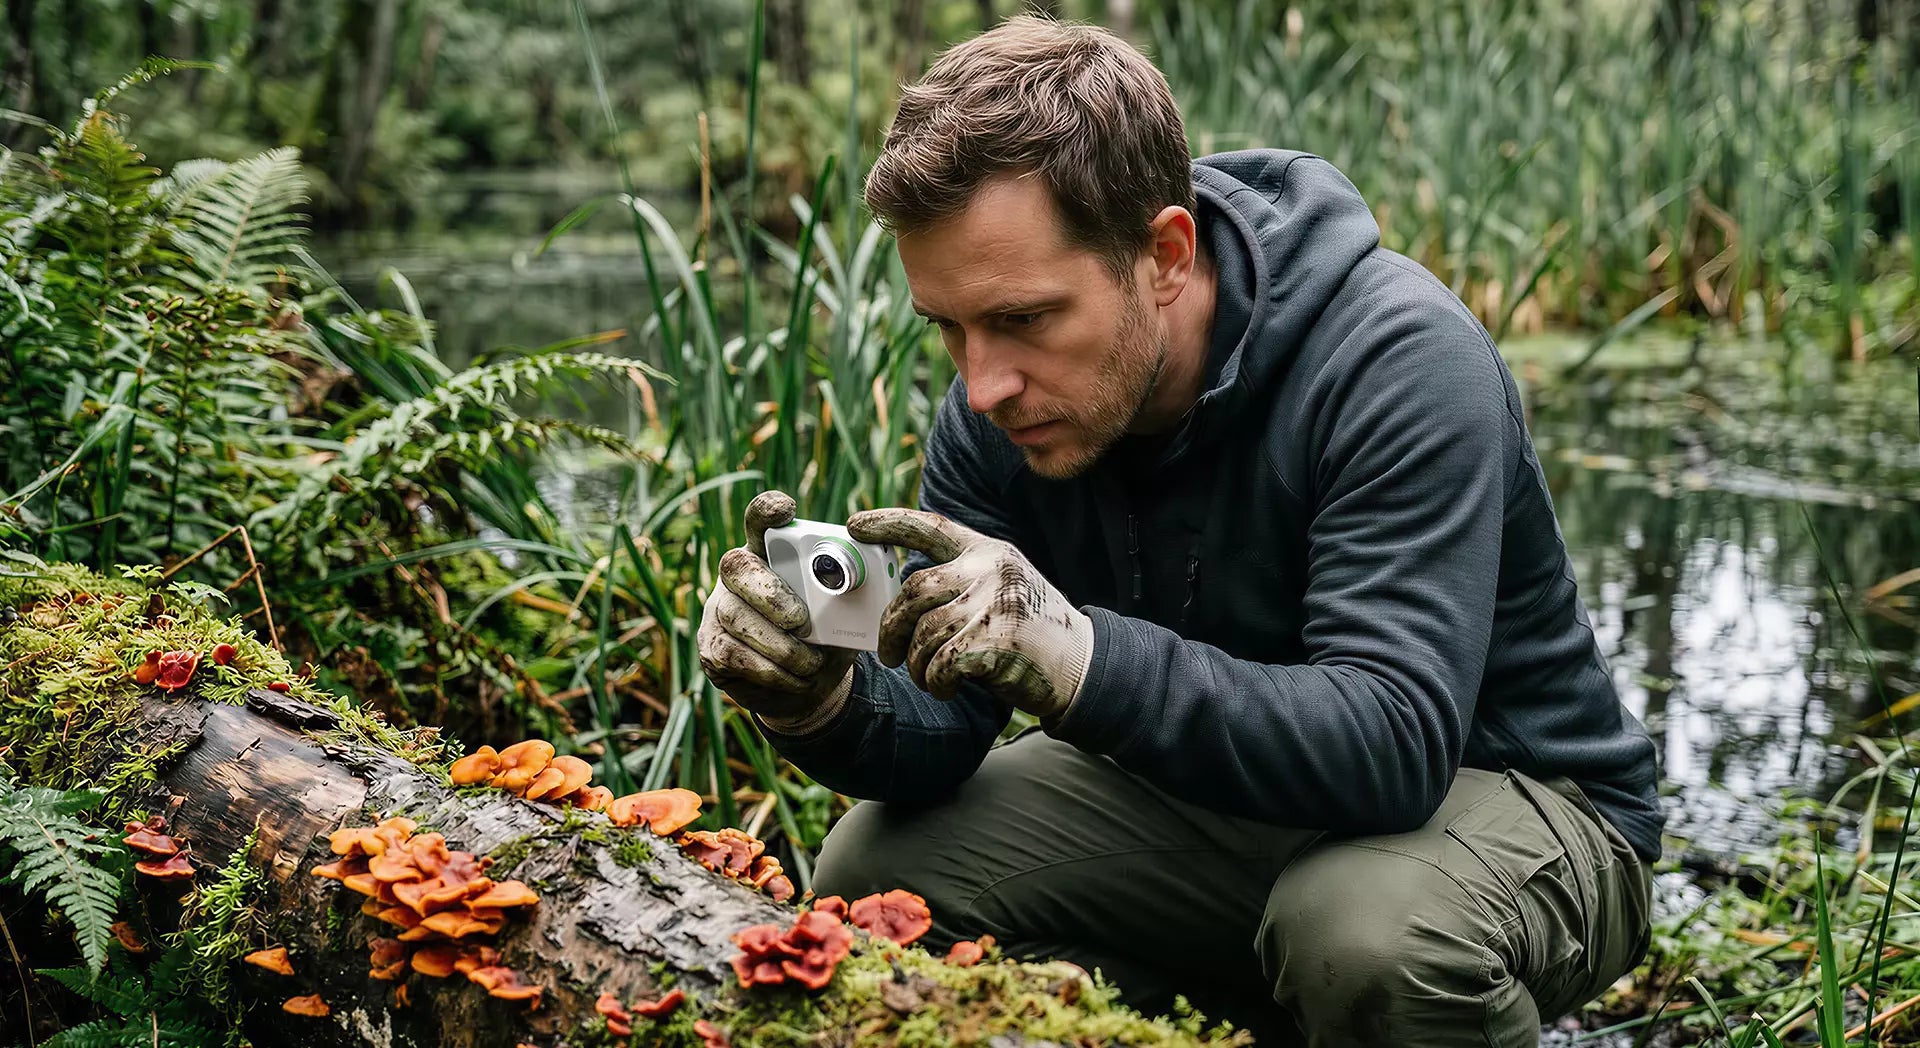
In real-world environments like hiking trails or nature reserves, macro photography changes how you interact with the outdoors. It encourages a slower pace, requiring you to look at the ground, under logs, and inside blossoms. This perspective often reveals a healthy ecosystem’s "engine"—the pollinators and decomposers—that most hikers walk past without noticing.
For the outdoor explorer, it turns a familiar local park into a completely new territory. You don’t need a mountain range to get a world-class photo; you only need a square foot of healthy meadow or a damp creek bed.
How does it work step-by-step in outdoor environments?
Photographing small subjects in the wild requires a blend of technical patience and environmental awareness. Unlike a studio, the outdoors is unpredictable. Here is how to approach a macro session in the field:
-
Find the "Golden Hour" or Overcast Skies: Harsh midday sun creates deep shadows that hide detail. Aim for the first two hours after sunrise when insects are often sluggish and covered in dew, or shoot on cloudy days for soft, even lighting that saturates colors.
-
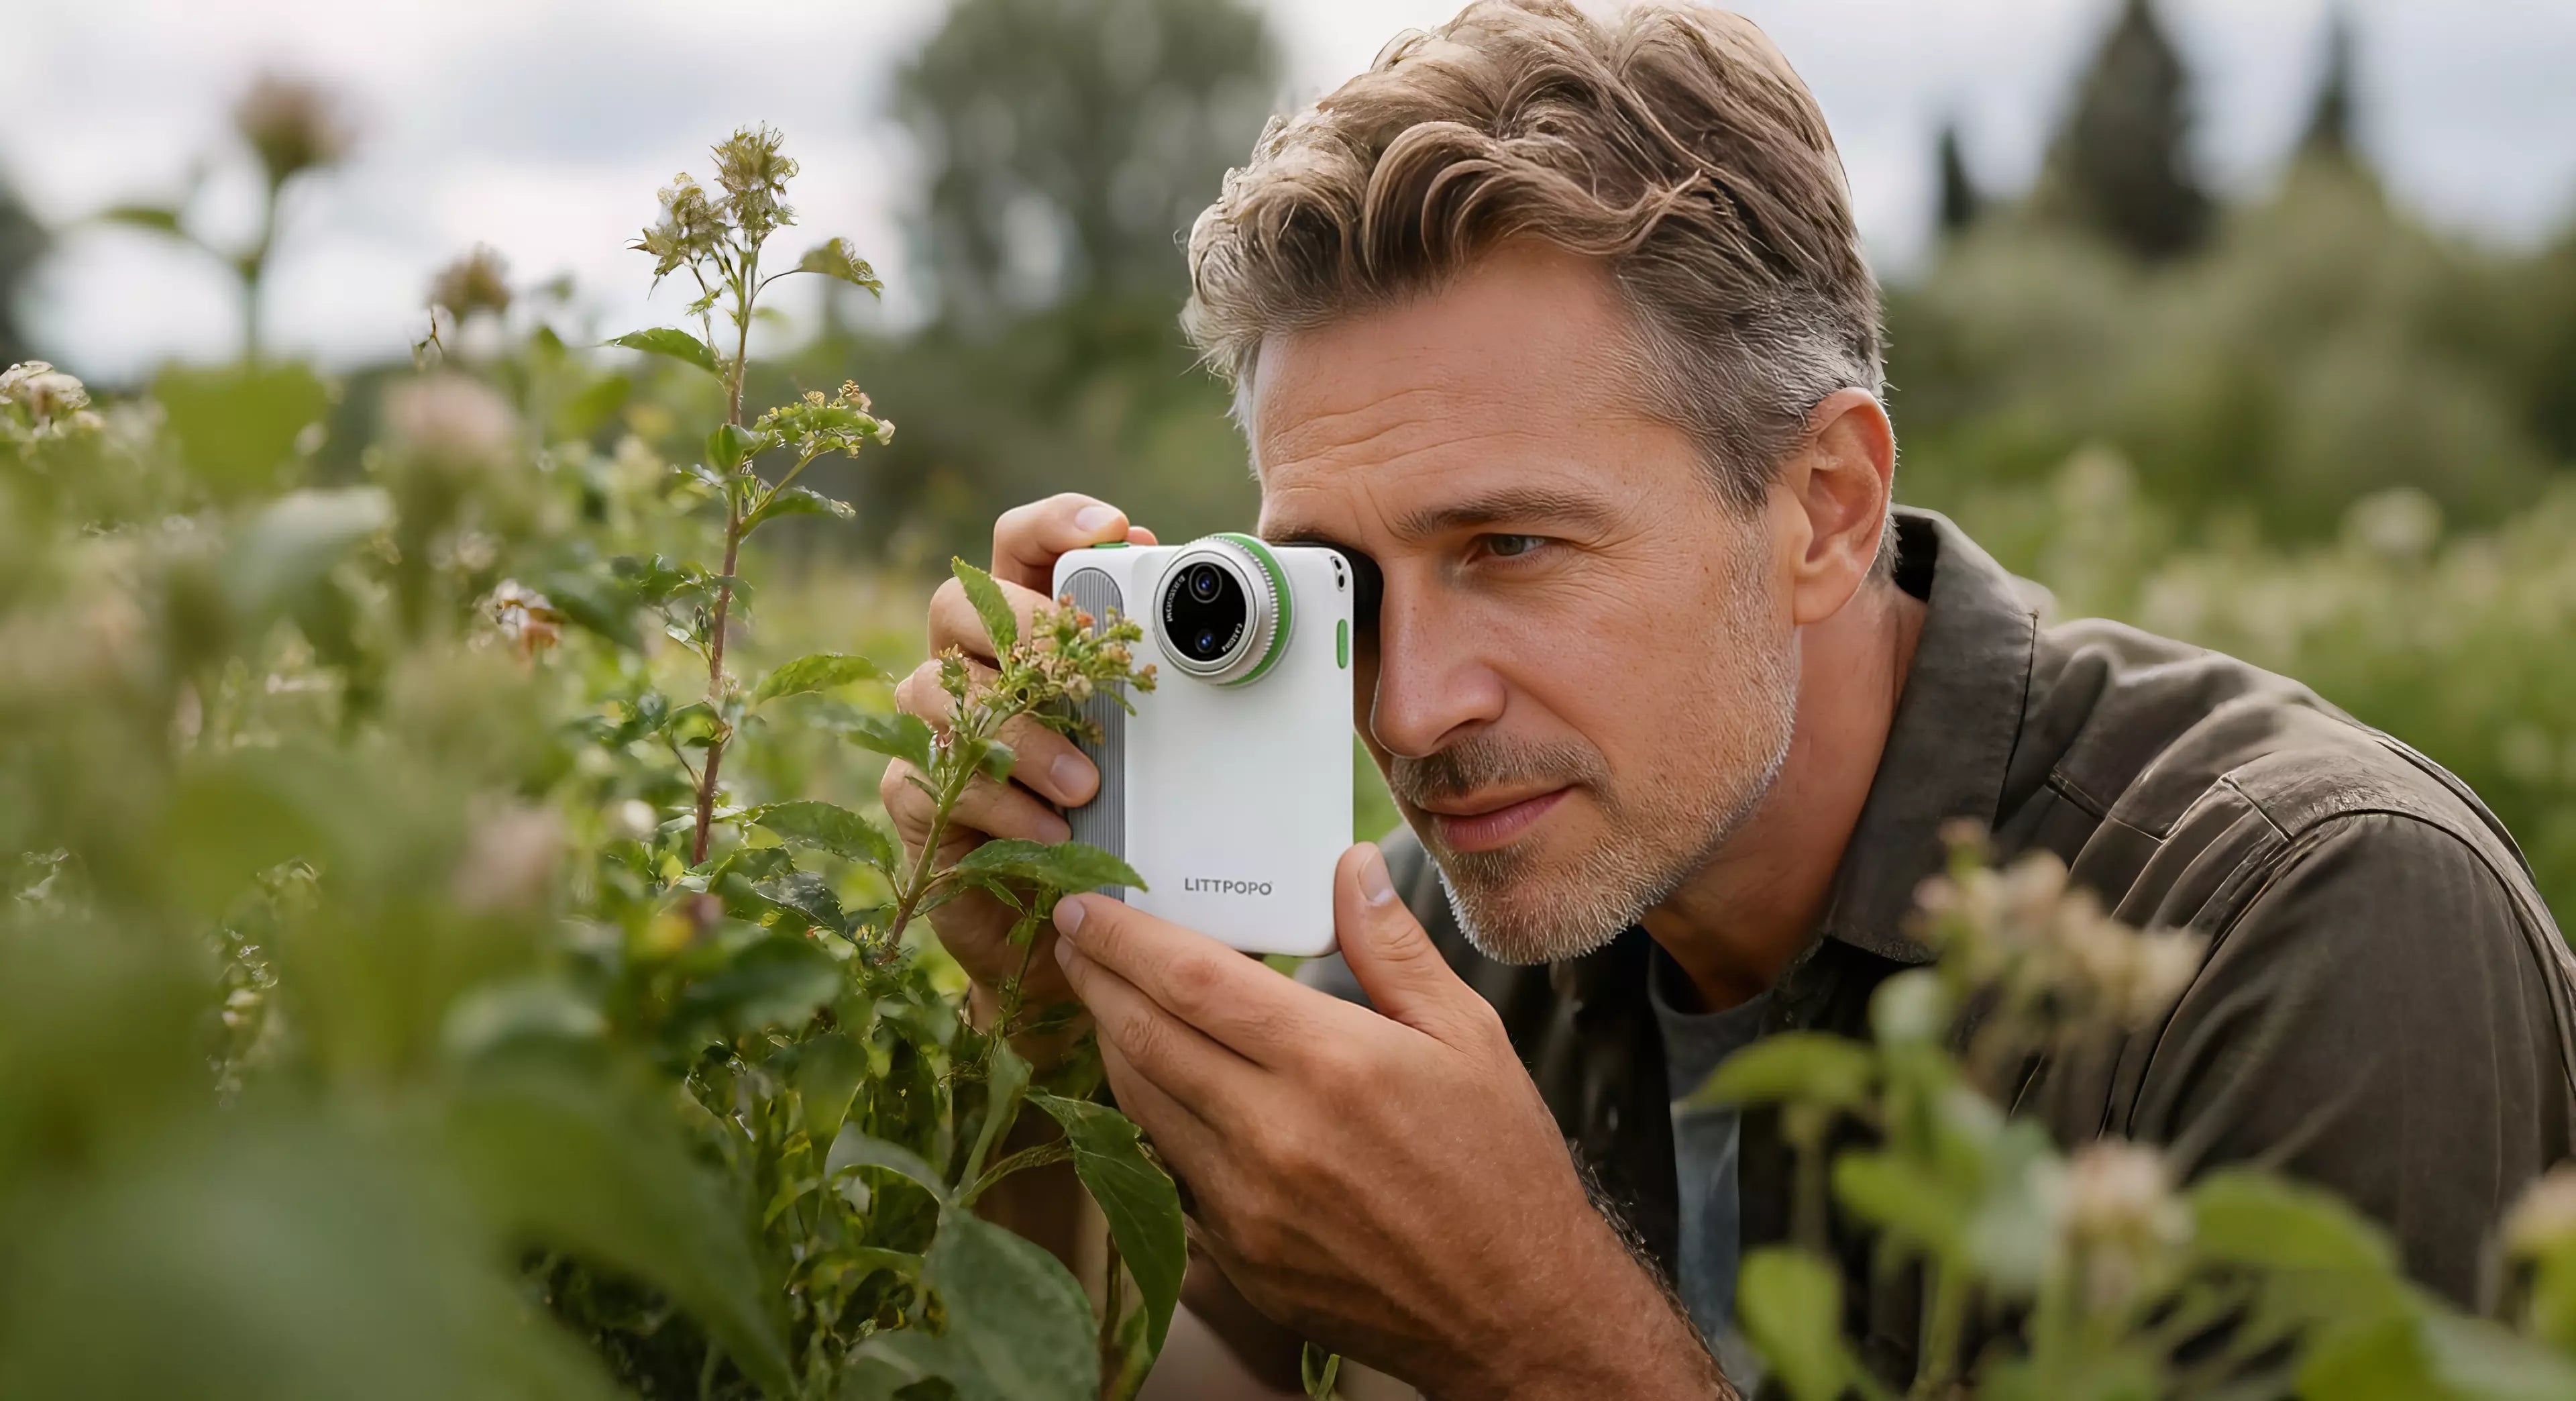
Stabilize Your View: At high magnification, even your heartbeat can cause "camera shake." Use a tripod or lean against a tree to keep the camera steady.
-
Manual Focus is Key: Autofocus often struggles with tiny subjects like a thin blade of grass. Switch to manual focus and move your body slightly forward or backward until the subject snaps into clarity.
-
Manage the Wind: Wind is the macro photographer's enemy. If a flower is swaying, wait for the lull between gusts or use a fast shutter speed to freeze the motion.
-
Mind the Background: A messy background of sticks and dead grass can distract from your subject. Adjust your physical angle—sometimes just dropping two inches lower—to place your subject against a clean, out-of-focus wash of green or brown.
Where can you try this in real life?

The United States offers diverse ecosystems that cater to different macro interests. Depending on your region, these parks and gardens are top-tier destinations:
National Parks for Biodiversity
-
Great Smoky Mountains (TN/NC): Known as the "Salamander Capital of the World," this park is a haven for macro enthusiasts. The damp, mossy environments of trails like the Alum Cave Trail are perfect for finding fungi, lichen, and small amphibians.
-
Olympic National Park (WA): The Hoh Rain Forest offers an incredible density of textures. You can spend hours photographing the intricate "drip tips" of leaves and the layers of clubmoss covering the trees.
-
Everglades National Park (FL): For those interested in insects and aquatic plants, the boardwalks at Anhinga Trail provide easy access to dragonflies, lubber grasshoppers, and unique wetland flora.
Botanical Gardens for Guaranteed Color
-
Longwood Gardens (PA): This is one of the premier locations for floral macro photography. The conservatories allow you to practice in controlled lighting, focusing on exotic orchids and water lilies.
-
Denver Botanic Gardens (CO): With its alpine and desert collections, this site is excellent for capturing the textures of cacti and hardy mountain wildflowers.
Nature Reserves and Hiking Trails
-
Nature Reserves: Look for local "Audubon Society" reserves. These are managed specifically for wildlife, meaning the insect populations are usually higher than in manicured city parks.
-
Meadow Trails: Any trail that passes through a summer meadow is a hotspot for pollinators. Focus on the edges of the trail where sun-loving flowers like milkweed or coneflowers grow.
What mistakes do beginners commonly make?
Macro photography has a steep learning curve because the margin for error is measured in millimeters. Avoid these common pitfalls:
-
Chasing the Subject: Beginners often try to follow a moving insect with their camera. Instead, find a flower that insects are visiting and wait for them to come to you.
-
Ignoring the Depth of Field: When you are very close to a subject, the area in focus is incredibly thin. If you use a wide aperture (like $f/2.8$), only the tip of an insect’s nose might be sharp. Stop down to $f/8$ or $f/11$ to get more of the subject in focus.
-
Damaging the Environment: It is tempting to move branches or pick a flower to get a better shot. This is against "Leave No Trace" principles. Use your camera angle to "clean up" the shot rather than physically altering the habitat.
-
Shooting Dirty Subjects: A beautiful flower shot can be ruined by a speck of dirt or a torn petal that you didn't notice in the viewfinder. Take a second to inspect your subject before pressing the shutter.
Who is this most useful for?

Macro photography is a versatile hobby that appeals to several different types of outdoor enthusiasts:
-
Hikers: It gives you a reason to stop and appreciate the details of a trail, making a short two-mile walk feel like a full-day expedition.
-
Gardeners: If you spend time cultivating a backyard habitat, macro photography is the best way to document the life cycles of the plants and "beneficial bugs" you've invited in.
-
Scientific Illustrators and Educators: Detailed photos of plant anatomy or insect behavior serve as excellent reference material for teaching others about the natural world.
-
Patient Beginners: Unlike bird or large mammal photography, which requires expensive long lenses, macro photography can be done with relatively affordable gear or even high-end smartphones.