
Why do outdoor explorers photograph small details in nature?
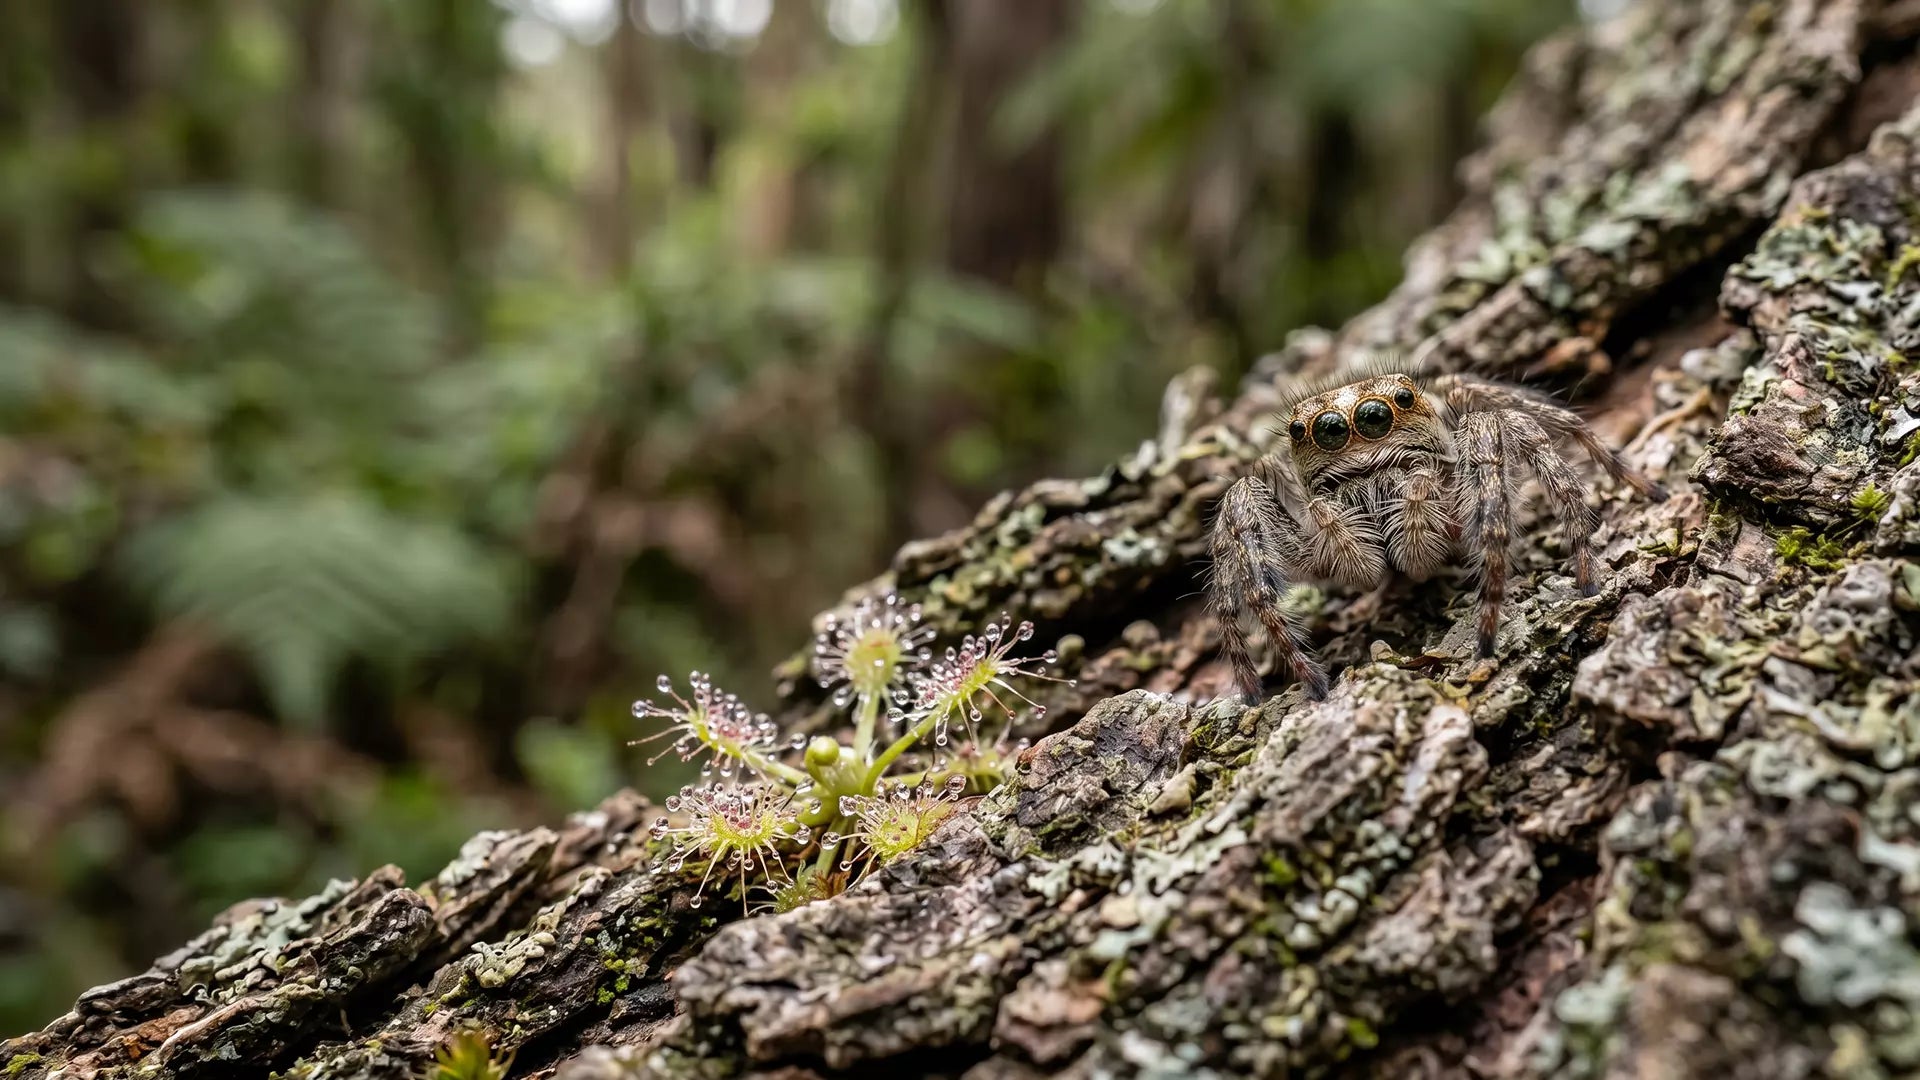
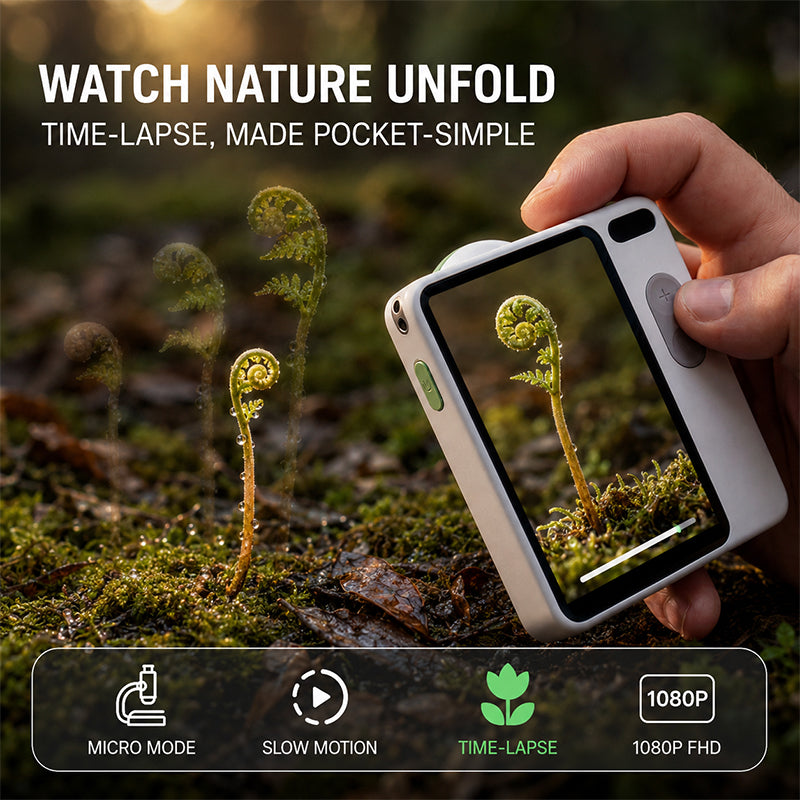
Outdoor exploration is often associated with grand vistas and sweeping mountain ranges, but a significant part of the ecosystem exists at a scale invisible to the naked eye. Photographing these small details—often referred to as 4K macro nature photography—allows hikers and campers to document the biological complexity of their environment.
By focusing on the "micro-wilderness," explorers can identify specific plant species, observe the intricate structural engineering of insect wings, or track the health of an ecosystem through lichen growth. It transforms a standard hike into a scientific scavenger hunt. Beyond the educational value, macro photography offers a unique artistic perspective, turning a common piece of tree bark into an abstract landscape of ridges and valleys.
How can you use a microscope camera during nature walks?

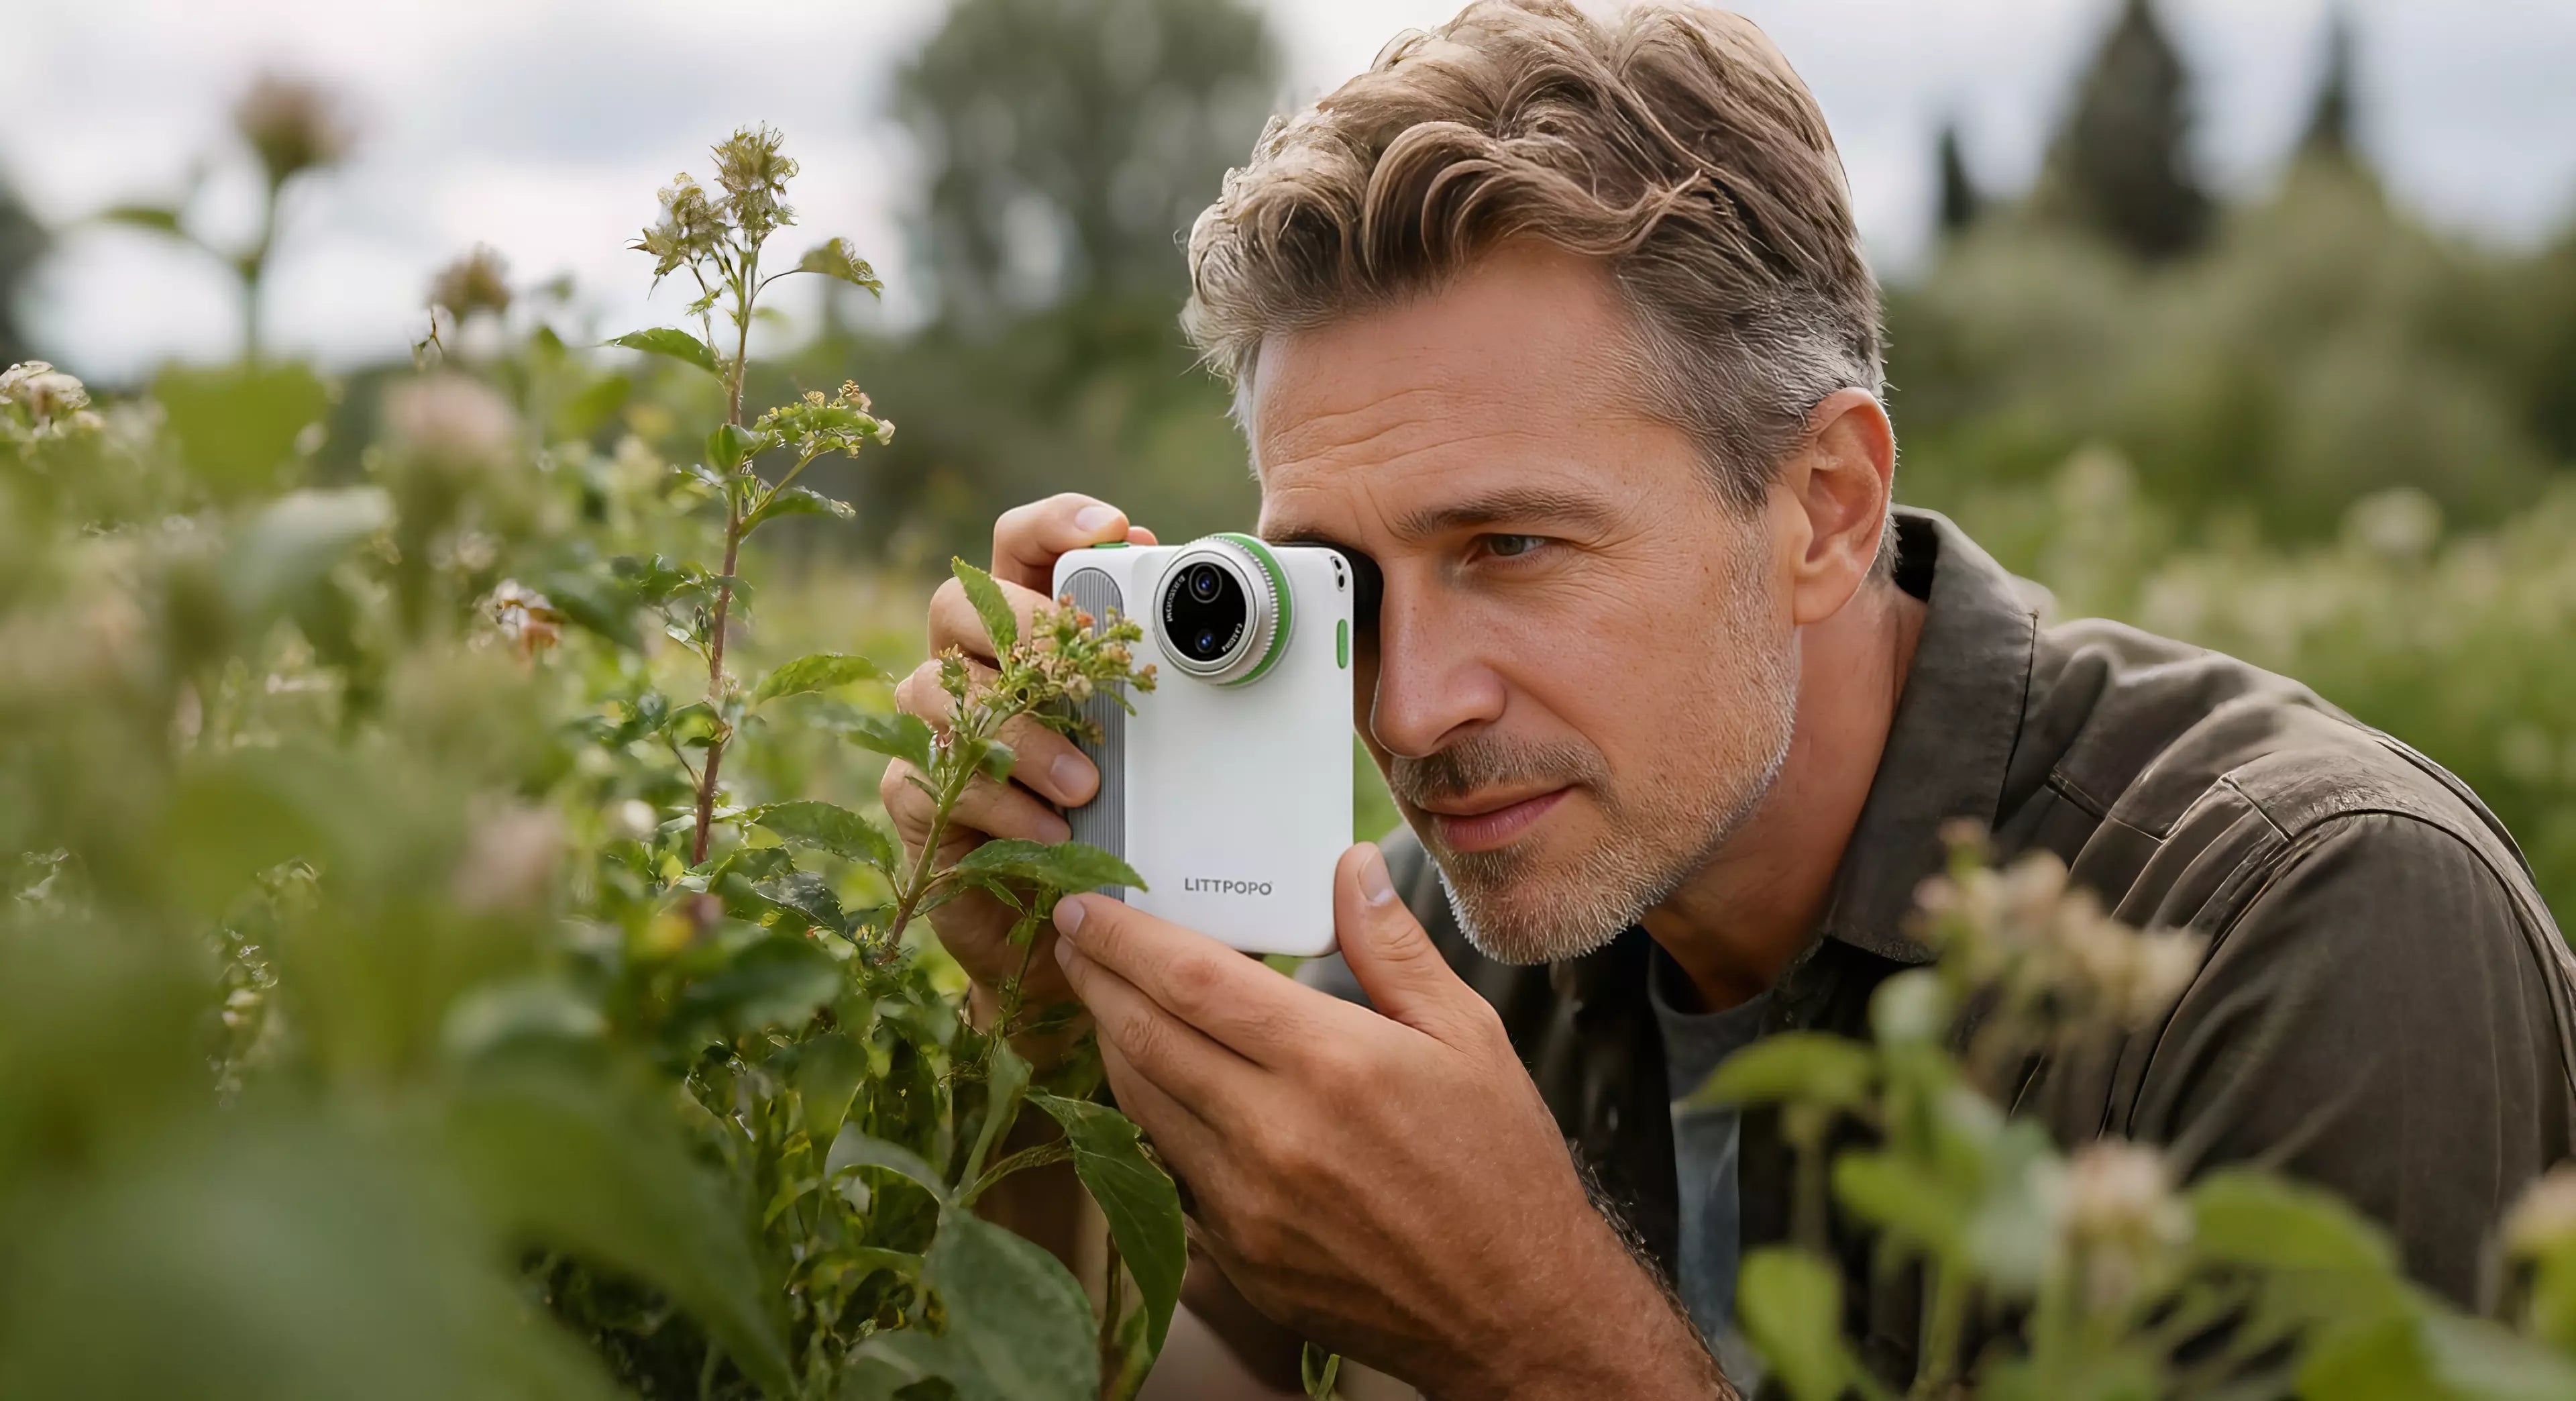
Using a portable microscope camera in the field requires a different approach than standard landscape photography. Because these devices amplify tiny movements, stability is your primary challenge.
Step 1: Find your subject and assess the light
Look for subjects in bright, indirect light. Direct midday sun often creates "hot spots" on shiny surfaces like beetles or wet leaves, which can blow out the 4K detail. Shaded areas under a forest canopy provide the best natural diffusion.
Step 2: Stabilize the camera
Since you are likely hiking without a full-sized tripod, use the environment. Lean your elbows against a boulder or rest the edge of the microscope camera directly against a tree trunk. If the subject is on the ground, lay flat on your stomach to create a human tripod.
Step 3: Manage the "focal plane"
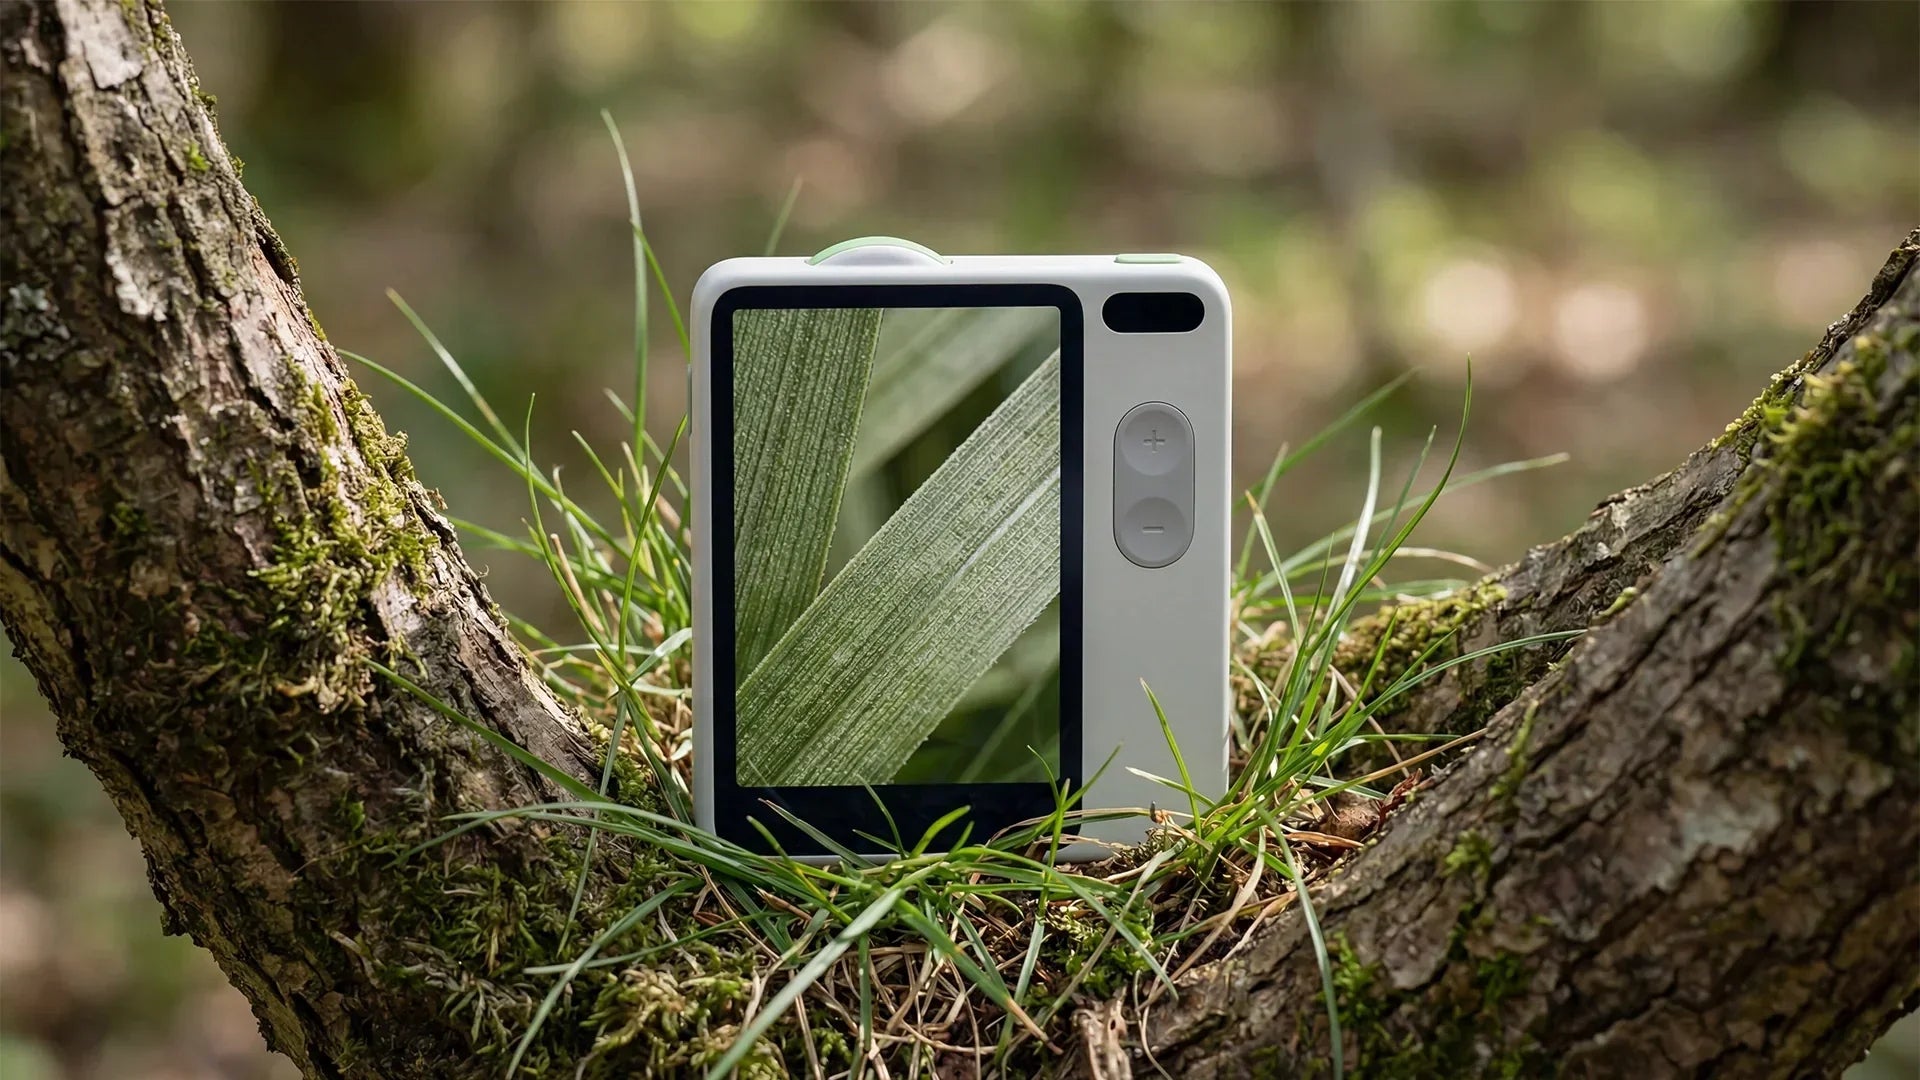
In macro photography, the depth of field is incredibly thin—sometimes only a fraction of a millimeter is in focus. Slowly move the camera toward or away from the subject rather than relying solely on the digital zoom. Watch the screen until the specific texture you want to highlight becomes crisp.
Step 4: Capture and review
Take multiple shots in quick succession. Even a slight breeze can move a wildflower out of the focal plane. Review your images at 100% magnification on your device to ensure the 4K resolution is actually capturing the fine hairs or cells you are targeting.
What natural subjects work best in this environment?

When practicing 4K macro nature photography, certain subjects provide more visual "information" for the sensor to capture. Look for objects with high textural contrast.
-
Moss and Lichen: These are the "forests" of the micro-world. Under a microscope camera, a patch of moss reveals individual leaflets and spore capsules that look like alien flora.
-
Insects: Focus on the compound eyes of a dragonfly or the scales on a butterfly’s wing. These subjects demonstrate the power of 4K resolution by revealing patterns invisible to the human eye.
-
Tree Bark: Different species offer varied geometries. Cedar bark provides long, fibrous strands, while Oak offers deep, rugged canyons.
-
Leaf Veins: Backlit leaves act like biological stained glass. A microscope camera can capture the xylem and phloem structures that transport water through the plant.
-
Rocks and Minerals: Granites and quartz contain tiny crystalline structures. On a nature walk, a seemingly dull gray stone can reveal a galaxy of sparkling facets under magnification.
What mistakes do beginners make in outdoor macro photography?

The transition from standard photography to macro work involves a steep learning curve. Recognizing these common pitfalls can significantly improve your hit rate.
1. Ignoring the Wind
Even a breeze that feels microscopic to you is a hurricane for a flower stem. Beginners often try to photograph a moving target, resulting in motion blur.
-
The Fix: Use a "plamp" (a small clamp) to hold the stem steady, or simply wait for the brief moments of stillness between gusts.
2. Relying on Auto-Focus
Most microscope cameras struggle with auto-focus in the wild because there are too many competing textures (e.g., the leaf behind the insect).
-
The Fix: Switch to manual focus. Set the focus to a specific distance and move your body/camera back and forth to find the "sweet spot."
3. Over-magnifying
Just because a camera can zoom to 1000x doesn't mean it should. High magnification reduces the light reaching the sensor and makes the image darker and grainier.
-
The Fix: Start at a lower magnification (like 20x or 50x) to maintain 4K clarity, and only zoom in further if the lighting is perfect.
4. Poor Lighting Direction
Front-lighting a flat subject makes it look 2D.
-
The Fix: Use side-lighting. When the sun hits a subject from the side, it casts tiny shadows that define the texture and "pop" the 4K details.
Who benefits most from this activity?
Portable macro photography is an inclusive hobby that adds a layer of depth to many outdoor disciplines.
-
Hikers and Backpackers: It provides a reason to slow down and appreciate the miles. Instead of just "bagging peaks," hikers can document the changing flora at different elevations.
-
Citizen Scientists: Many conservation groups look for high-resolution photos of rare fungi or insects. A 4K microscope image provides the detail necessary for professional identification.
-
Educators and Parents: For children, a microscope camera turns a backyard or a local park into a laboratory. It bridges the gap between technology and nature, making "screen time" an outdoor activity.
-
Content Creators: For those who write about the outdoors or share their journeys online, macro shots provide "b-roll" imagery that sets their work apart from standard wide-angle trail photos.
By mastering the use of a portable microscope camera, you stop seeing the trail as a path from point A to point B and start seeing it as a series of infinite, miniature worlds.