
Why Does a Microscope Camera Matter for Hikers?
Most hikers focus on landscapes — mountains, valleys, and scenic viewpoints. However, a large portion of ecological activity exists at a micro scale.
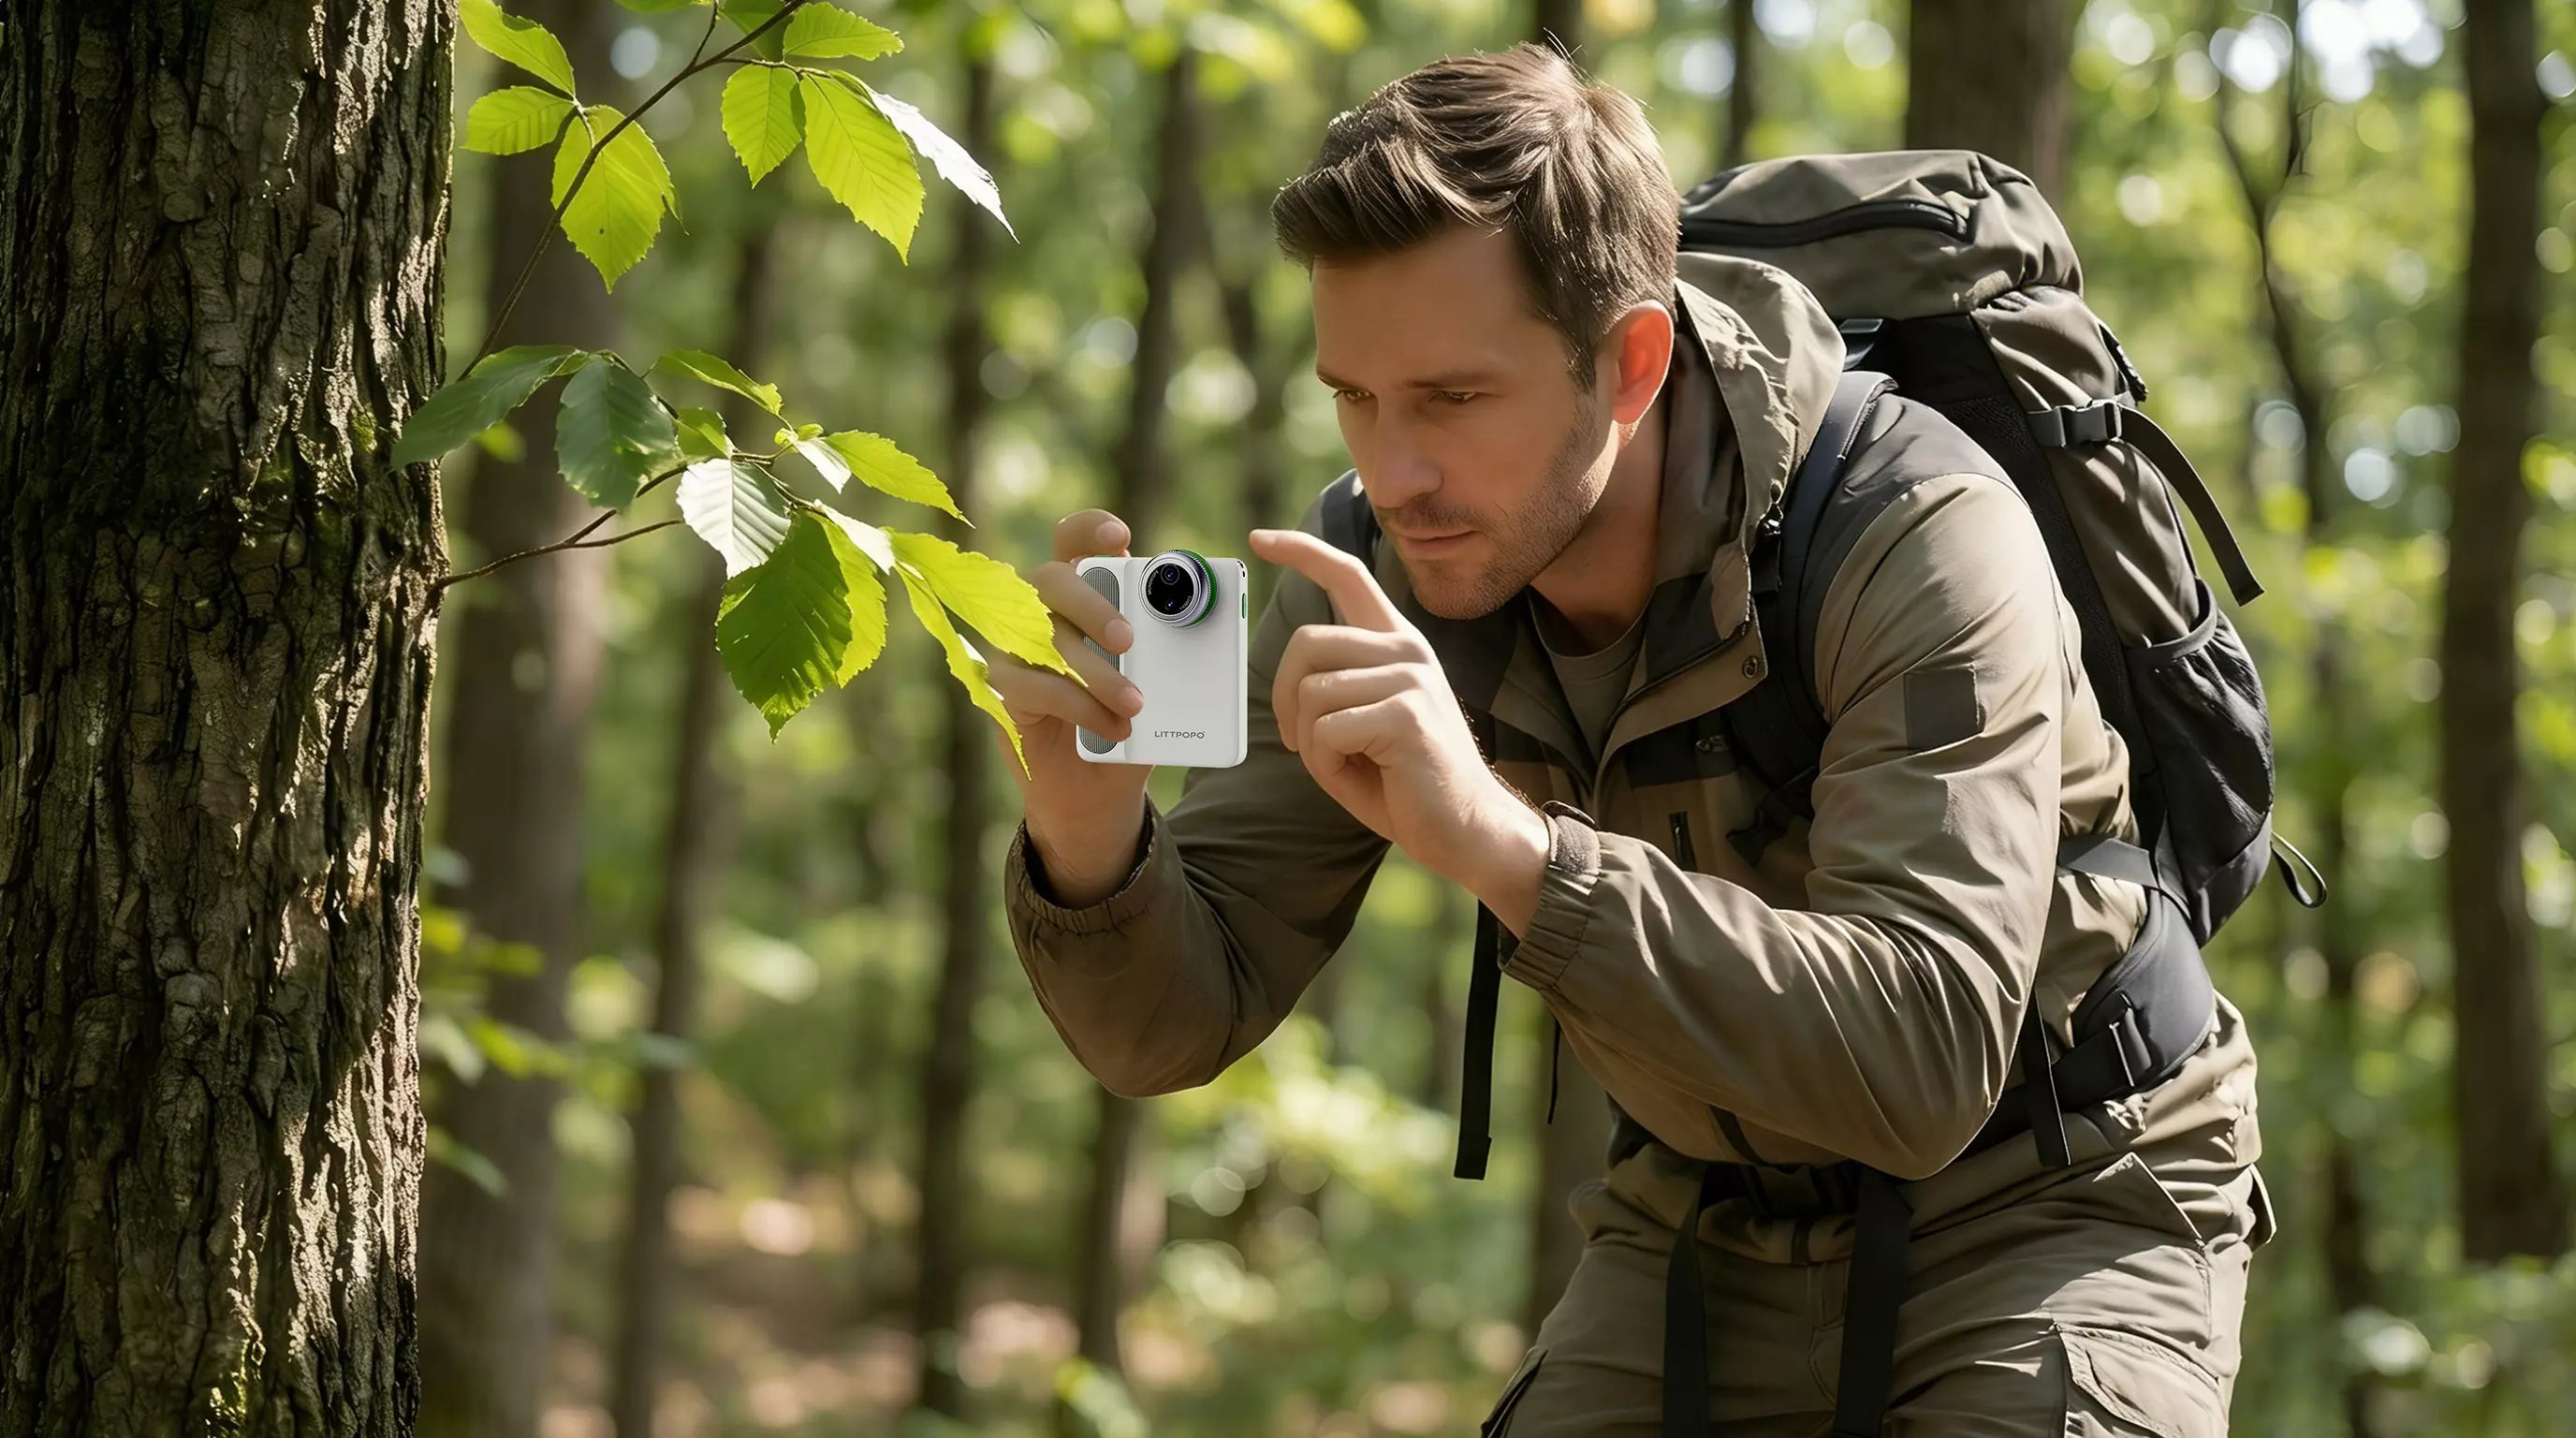
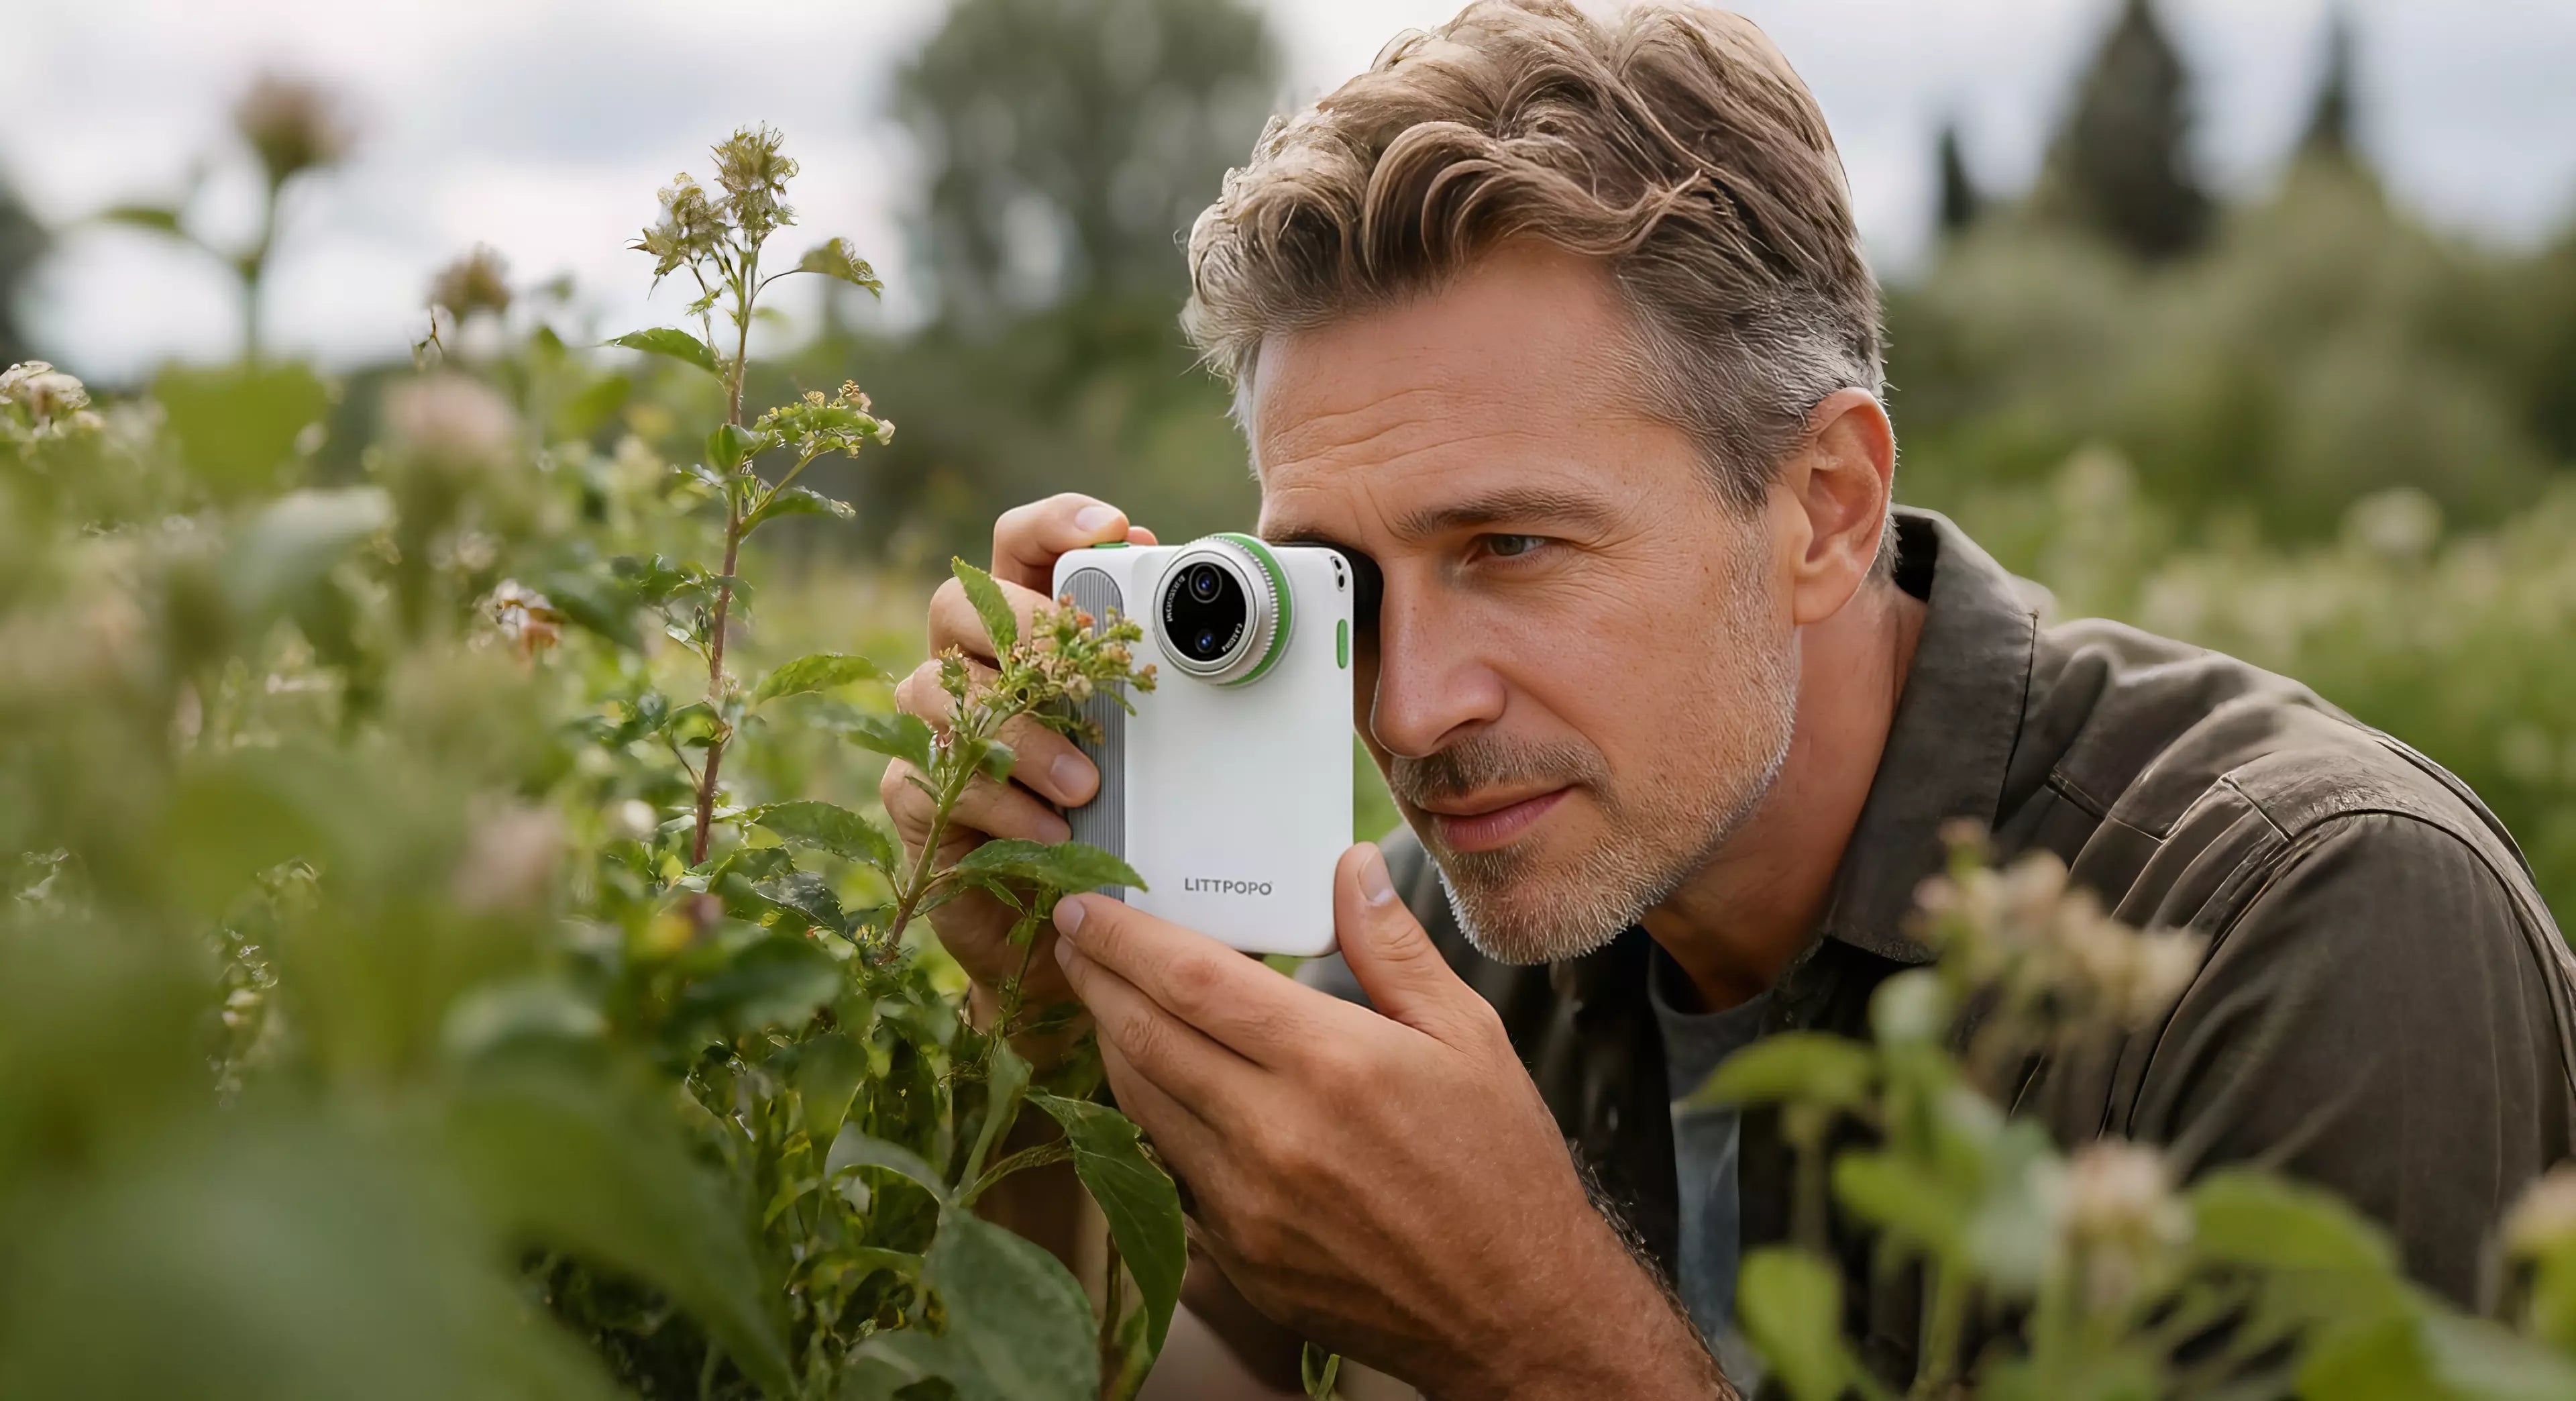
A portable microscope camera shifts your attention from distant scenery to surface-level detail. Instead of simply seeing a patch of moss, you can observe:
-
Spore clusters
-
Branching structures
-
Surface fibers
-
Moisture retention patterns
In this sense, a hike becomes less about distance and more about observation.
What Can You Actually Study on the Trail?

A microscope camera supports multiple types of field observation:
1. Biological Identification
Distinguishing between moss species or fungi often requires examining surface textures and structural patterns. Fine details such as:
-
Hyphae branching
-
Leaf hairs
-
Insect exoskeleton patterns
are not visible to the naked eye but become clear under moderate magnification (50x–200x).
This makes field identification more accurate without requiring laboratory tools.
2. Geological Texture Analysis
Rocks and soil reveal granular structure at close range.
Examining grain size, layering, and mineral patterns can provide insight into:
-
Sedimentary formation
-
Volcanic history
-
Erosion processes
While it does not replace geological lab analysis, it enhances environmental awareness during the hike.
3. Educational Engagement
For educators, students, or families, a microscope camera creates immediate visual engagement.
Instead of passing around a magnifying glass, a smartphone-connected display allows a group to observe the same structure simultaneously.
This transforms passive hiking into interactive learning.
How Does Using a Microscope Camera Work on the Trail?

Field use differs from indoor or laboratory conditions.
1. Stabilization Is Critical
At high magnification, minor hand tremors are amplified.
Practical stabilization methods include:
-
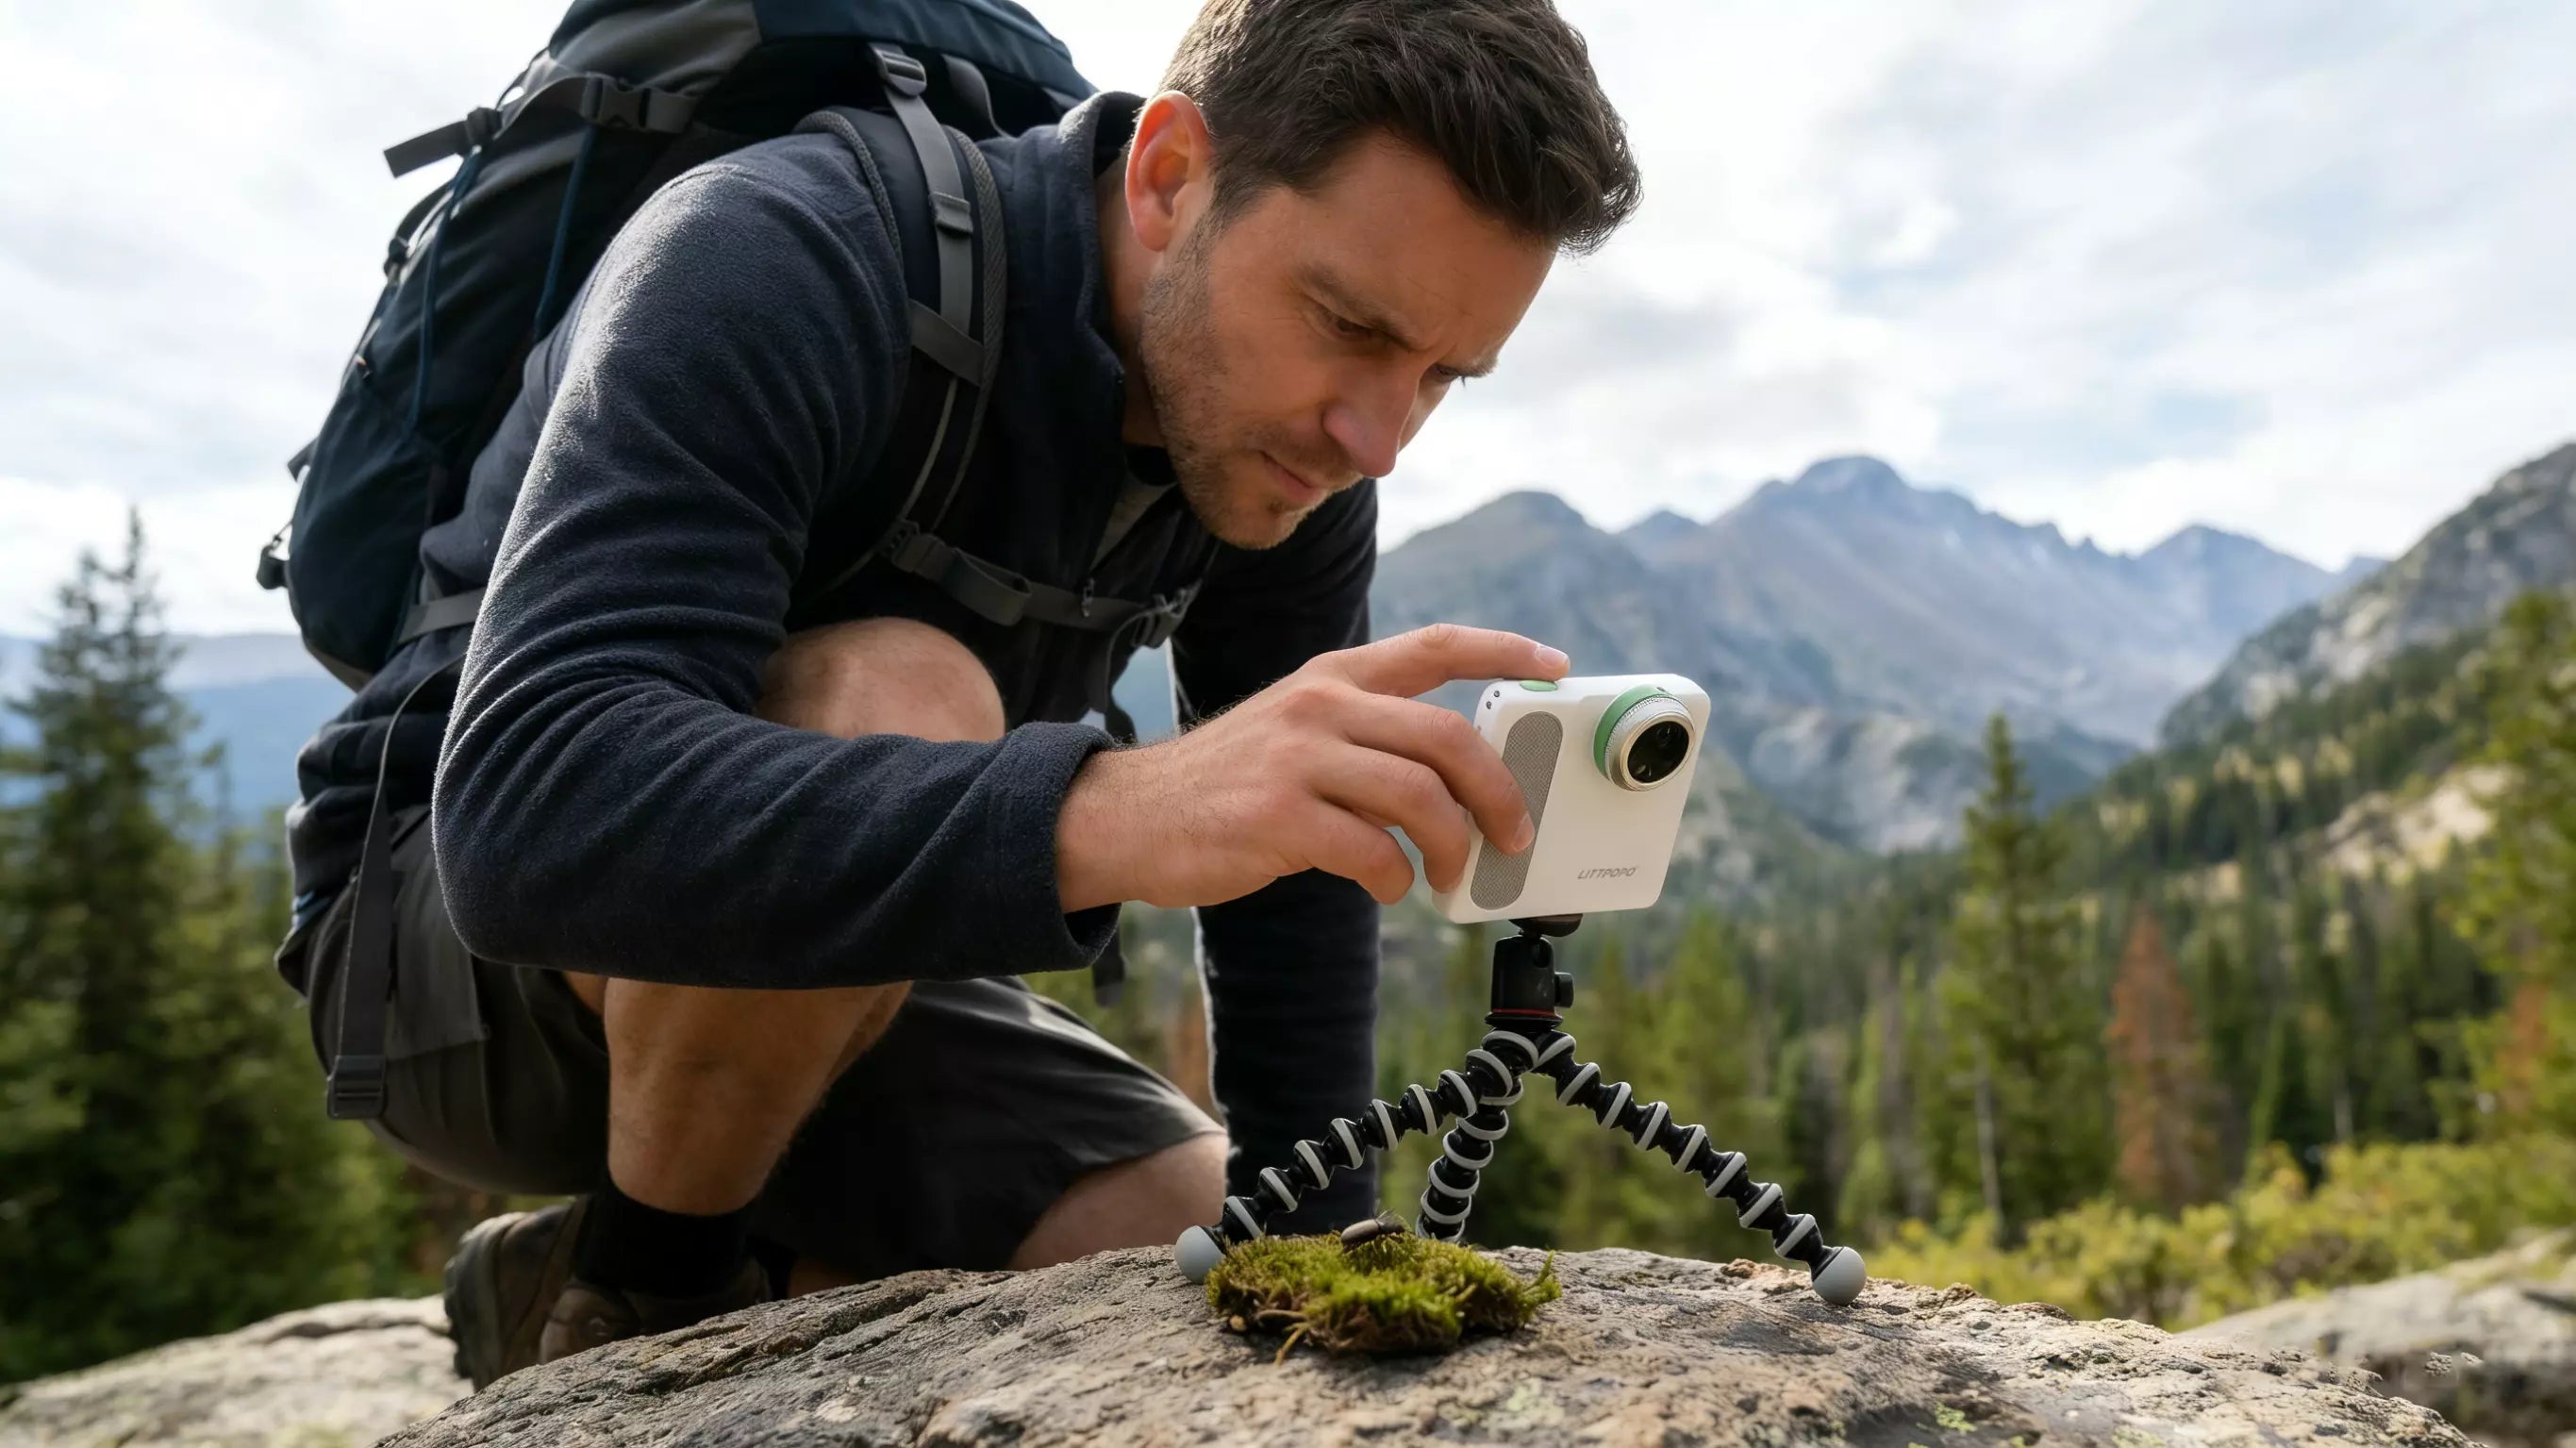
Placing the camera directly on a stable surface (rock, log)
-
Using a small flexible tripod
-
Resting your hands against your knees for support
Wind and subject movement matter more than magnification level.
2. Lighting Control
Most portable microscope cameras include built-in LED rings.
In bright outdoor conditions, LEDs may create glare or reflective hotspots on:
-
Wet leaves
-
Shiny insect shells
-
Smooth rock surfaces
Balancing ambient light with adjustable LED brightness improves clarity.
Overcast skies or shaded forest paths typically provide better results than direct midday sunlight.
3. Smartphone Integration
Many field microscope cameras connect via Wi-Fi or USB to mobile devices.
Typical workflow:
-
Open the companion app
-
Adjust focus manually
-
Trigger the shutter via app to avoid button-induced vibration
This setup allows real-time framing and easier documentation.
What Magnification Works Best Outdoors?
Beginners often assume maximum magnification (e.g., 1000x) produces better results.
In hiking conditions, extremely high magnification is usually impractical.
Most stable and usable field captures occur between:
50x to 200x
This range provides sufficient detail to observe:
-
Leaf surface hairs
-
Insect eye facets
-
Soil particles
without making focus overly unstable.
Common Mistakes to Avoid
Overestimating Magnification
Higher magnification increases instability and reduces depth of field.
Removing Live Subjects
Taking insects or plant samples out of context can alter behavior and appearance. Observing subjects in situ preserves ecological accuracy.
Ignoring Wind
Even a light breeze can shift a leaf outside the shallow depth of field. Using your body or backpack as a wind barrier can improve results.
Who Is Field Microscopy Best For?

Portable microscopy is not necessary for every hiker. It suits specific profiles:
The Amateur Naturalist
Those interested in biodiversity and species identification.
The Macro Photography Enthusiast
Those seeking higher magnification in a lighter form factor than DSLR macro setups.
Educational Leaders
Teachers or guides leading nature walks who want interactive visual engagement.
Practical Considerations Before Hiking
Before adding a microscope camera to your hiking gear, consider:
-
Battery Life
Wi-Fi connection drains both camera and smartphone batteries. Carry a power bank for longer sessions. -
Weather Protection
Most portable microscope cameras are not waterproof. Avoid heavy rain or use protective storage. -
Storage Space
High-resolution images and video can quickly consume phone memory.
Final Thoughts
Using a microscope camera on a hiking trip shifts the experience from observing landscapes to examining structure.
Instead of focusing only on peaks and panoramas, you begin to notice the microscopic architecture that supports the entire ecosystem.
It is a slower, more deliberate way to experience the outdoors — one that rewards patience and curiosity rather than speed or distance.