
Nature photography is one of those genres where the subject is doing the bulk of the work.
The sunrise can make an ordinary landscape dramatic. A bird may be there only a few seconds. Even a leaf or flower or bug can appear completely different when you get close enough.
Pointing the camera at a beautiful scene does not automatically produce a great photograph.
Often the difference comes down to how you frame the scene, how you use light, what you choose to leave out, and what you do with the image afterward.
Here are some practical nature photography tips to help you capture better photographs in the field and make them look their best when you begin editing photos.

1. Slow Down Before You Take the Picture
It's easy to get somewhere beautiful, see the view, and snap a picture,Try doing the opposite.
Before you touch the shutter button, take a few seconds to look around. Move to the left or right. Down. Check your six. Look at the frame sides.
A photograph can be completely transformed by small changes in position.
A mountain may look ordinary from eye level, but can be much more interesting when you include foreground rocks, flowers, or a trail in the composition.
This is particularly useful when you're photographing landscapes. Instead of asking, “What should I photograph?” ask“What should I include in the frame?” That small shift in thinking can improve your photography surprisingly quickly.
2. Pay Attention to Light
You don’t need expensive equipment to take beautiful nature photos. You must understand light.
The middle of a bright sunny day can be one of the worst times to photograph landscapes. Harsh overhead light can cast strong shadows and can flatten out colors.
Usually early morning and late afternoon are more forgiving.
The low angle of the sun casts longer shadows, warmer tones and more texture over the landscape. This is why photographers often call it the "golden hour."
But don't ignore cloudy days.
The clouds act as a giant diffuser, casting a soft and even light. This can be particularly useful for flowers, forests, waterfalls, and close-up subjects.
Therefore, don’t immediately put your camera away when the sky turns gray.
3. Look for a Strong Foreground
Adding depth is one of the easiest ways to make landscape photography more interesting.
A mountain far away by itself can appear flat. Add rocks, wildflowers, tree branches or a natural element in the foreground and suddenly the viewer now has something leading the eye into the scene.
Think of your image in three layers:
Foreground → Middle ground → Background
You don't need all three every time, but when they work together, the photo can feel much more three-dimensional.
This is especially useful when photographing mountains, coastlines, forests and large open landscapes.
4. Get Closer to Small Subjects
Nature photography doesn't have to mean huge landscapes.
Some of the most interesting photographs are found at your feet.
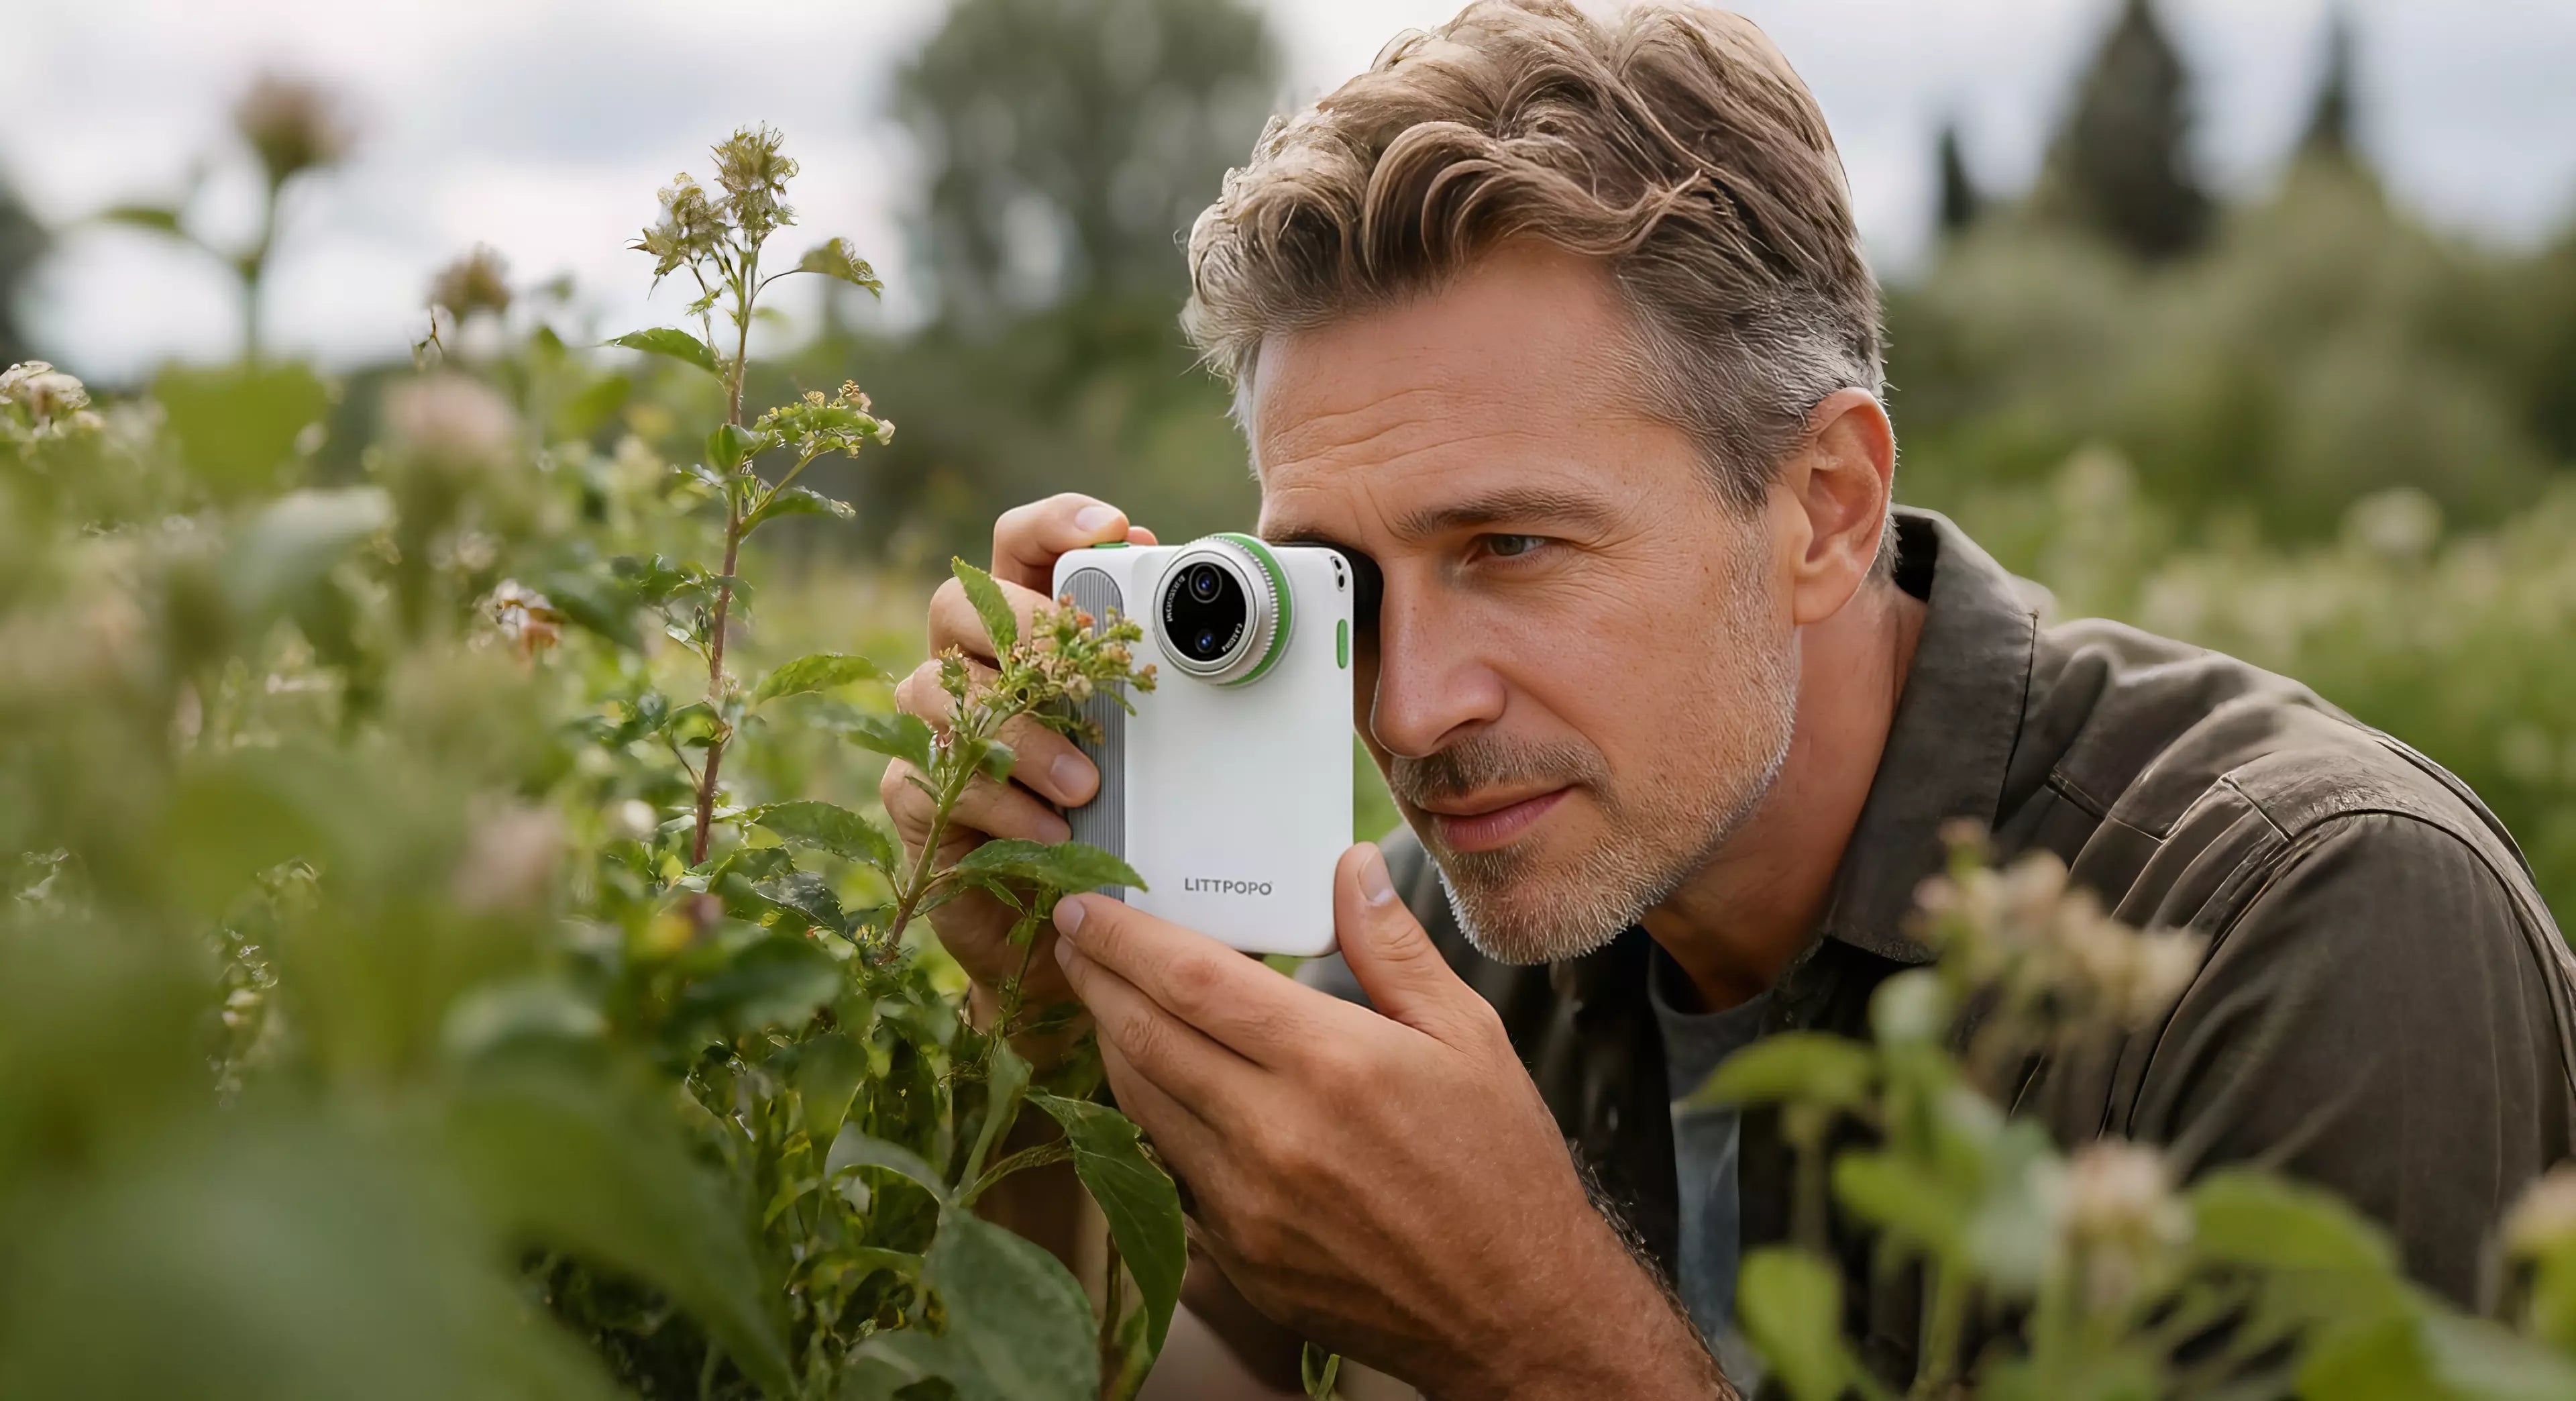
Leaves, insects, flowers, bark, moss, feathers, and tiny textures can all become compelling subjects when photographed from close range.
Instead of photographing an entire flower field, try isolating a single flower.
Instead of photographing an insect from several feet away, see how much detail you can capture when you move closer.
This is where close-up photography becomes particularly interesting. Fine textures and tiny details can completely change the way a familiar subject looks.
Just remember that getting closer isn't always the same as using a longer lens. Your minimum focusing distance, focal length, lighting, and depth of field all affect the result.
5. Use a Simple Composition
Nature provides plenty of visual information, which can also become a problem.
Trees, rocks, leaves, clouds, mountains, and people can all compete for attention in the same frame.
If everything is important, nothing feels important.
Try finding one clear subject and building the composition around it.
The rule of thirds can be a useful starting point, but don't treat it as a law. Centered compositions, leading lines, symmetry, and negative space can all work beautifully in nature photography.
The goal isn't to follow a particular composition rule.
The goal is to make it obvious where you want the viewer to look.
6. Use Your Camera's Focus Intentionally
Autofocus is extremely useful for nature photography, but you shouldn't always let the camera decide everything.
For a landscape, you might want the focus somewhere toward the middle or foreground depending on your composition and aperture.
For wildlife, keeping the subject's eye in focus is usually much more important.
For flowers or insects, a tiny change in focus can completely change the photograph.
If your camera offers subject detection or tracking, experiment with it. But also learn how to select a focus point yourself.
The more control you have over focus, the less likely you'll be disappointed when you review your photographs later.
7. Don't Forget Shutter Speed
Different nature subjects require very different shutter speeds.
A slow shutter speed can turn moving water into a smooth, dreamy texture.
A fast shutter speed can freeze a bird in flight, a running animal, or even a splash of water.
For handheld landscapes, image stabilization can make slower shutter speeds easier to use. But stabilization doesn't freeze a moving subject.
That's an important distinction.
If your camera is steady but a bird is moving, the bird can still be blurry.
So when something in the scene is moving, think about subject movement, not just camera shake.
8. Take More Than One Composition
You don't need to spray hundreds of photographs at every scene.
But don't assume your first composition is automatically the best one.
Take a wide shot.
Then move closer.
Try a lower angle.
Change the orientation from horizontal to vertical.
Look for a detail.
This gives you several interpretations of the same scene rather than five nearly identical photographs.
It also makes editing photos much easier because you'll have genuine alternatives to choose from.

9. Shoot for the Edit
Good photo editing starts before you take the photograph.
That doesn't mean you should try to “fix” everything afterward.
Instead, think about what you want the final image to look like while you're shooting.
For example, if the sky is significantly brighter than the foreground, protect the highlights rather than deliberately overexposing the sky.
If you're photographing a dark forest, think about how much shadow detail you want to retain.
If you're shooting a flower against a bright background, consider changing your angle instead of relying on editing to remove distractions later.
The better the original file, the less work your editing software has to do.
10. Keep Your Photo Editing Natural
One of the easiest mistakes in nature photography is over-editing.
A little contrast can make a landscape pop.
A little saturation can bring color back into a flat image.
But pushing every slider to the maximum rarely creates a convincing photograph.
When editing photos, start with the basics:
- Exposure
- White balance
- Contrast
- Highlights
- Shadows
- Blacks and whites
- Saturation or vibrance
- Cropping
Then stop and look at the photograph again.
If the sky suddenly looks neon blue or the grass looks fluorescent green, you've probably gone too far.
The best editing often isn't the editing you notice.
11. Correct the White Balance
White balance has a surprisingly large influence on how a nature photograph feels.
A forest photographed in shade can look very blue. Golden-hour light can make an image extremely warm.
Neither is necessarily wrong.
Before adjusting white balance, think about the mood you want.
A cooler temperature can emphasize mist, snow, shade, and quiet atmospheric scenes.
A warmer temperature can reinforce sunlight, autumn colors, and golden-hour landscapes.
Don't automatically force every image toward neutral white balance. Sometimes the original color cast is part of what makes the photograph work.
12. Crop With a Purpose
Cropping is more than simply fitting an image into a certain size.
Composition can be improved too.
If there is too much empty space around your subject, cropping more tightly can strengthen the photograph.
If a distracting branch is sitting at the edge of the frame, cropping it out may solve the problem.
But don't crop simply because you can.
Heavy cropping reduces resolution and can become especially noticeable if you're working with a smaller sensor or planning to print the image.
It's usually better to get the composition reasonably close in camera.

13. Use RAW When You Can
If your camera supports RAW files, they're worth considering for serious nature photography.
RAW files have much more information to post-process compared to compressed JPEG files. This gives you more flexibility in adjusting exposure, recovering highlights, lifting shadows, or white balance correction.
This can be particularly useful for scenes where the sky and foreground are lit very differently.
RAW however requires more storage and editing time.
If you’re just recording a family walk and want some photos to share right away, JPEG could be quite enough.
The right format depends on what you're trying to do with the photographs.
14. Edit With the Story in Mind
Technical corrections are only part of photo editing.
Ask yourself what you want the photograph to communicate.
A misty mountain scene might work better with restrained colors and softer contrast.
A dramatic sunset could use a bit more contrast and warmer tones.
A close-up photo of an insect could use sharpening and some selective contrast to highlight tiny textures.
There is no single 'right' way to edit nature photos.
What’s important is that the editing is supportive of the subject, not overwhelming.
15. Don't Forget to Photograph the Details
When you’re in front of an impressive landscape, it’s natural to want to point your camera at the biggest thing you can see.
But sometimes the smaller details tell a better story.
A weathered tree trunk.
Water droplets on a leaf.
Footprints in snow.
A tiny insect sitting on a flower.
Textures in rock.
These photographs can work particularly well as a series because they show a different side of the place you're visiting.
A hiking trip, for example, doesn't have to be documented entirely with mountain panoramas. The small details can make the final collection feel much more personal.
A Simple Nature Photography Workflow
If you're just getting started, don't make the process unnecessarily complicated.
Try this workflow the next time you're outdoors:
1. Find the light.
Look at where the sun is coming from and how it changes the subject.
2. Find the subject.
Choose one thing that deserves attention.
3. Change your position.
Move nearer, down, up, sideways.
4. Check the edges.
Look for distracting objects entering the frame.
5. Take several compositions.
Give yourself real alternatives.
6. Review later.
Don’t spend your whole hike staring at your camera screen.
7. Edit selectively.
Exposure and color first, then get creative.
This technique works whether you’re shooting a mountain range, a forest trail, wildlife, flowers, or even a beetle.
Final Thoughts
Great nature photography isn't really about finding the perfect location or owning the most expensive camera.
It's about learning to notice things.
Notice how light changes a landscape. Notice the small details under your feet. Notice how moving a few steps changes the composition. And when you start editing photos, notice when an image already looks good and doesn't need another adjustment.
The more photographs you make, the easier those decisions become.
If you're still learning the fundamentals of photography, it's also worth building your skills beyond individual shooting techniques. If you are looking for a practical starting point to build your photography abilities thru consistent practice and self-directed learning then here is a guide on how to learn photography without school.